Preface
GradeToolby PCC-GRADING
Welcome!
You are in the GradeTool user manual.
Here, you can learn how to use the public version of GradeTool and quickly get all the information about how our tool works.
Introduction
What is GradeTool?
GradeTool allows you to analyze the condition of a card by identifying and evaluating its possible defects.
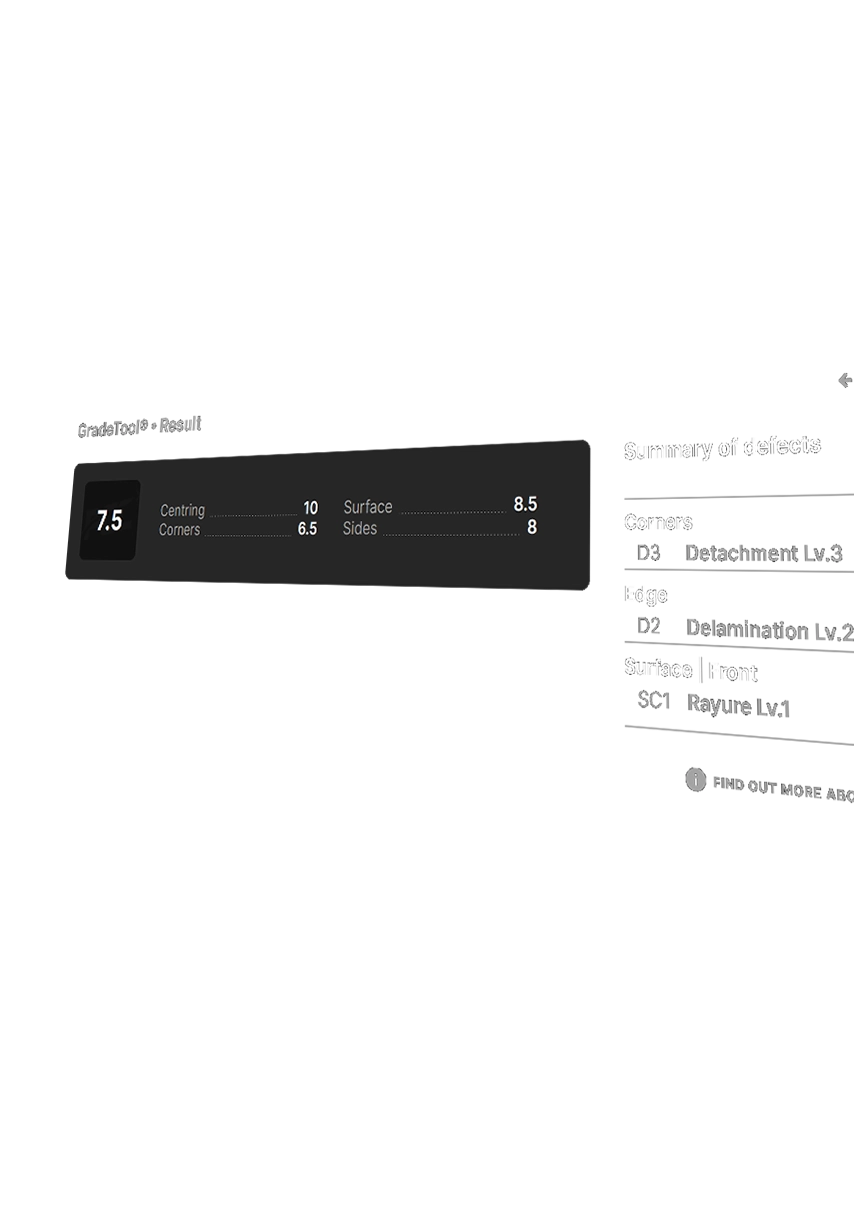
Based on the defects you enter, the tool calculates a grade taking into account four key subgrades: CENTERING, CORNERS, SURFACE, and EDGES.
This ensures consistent and constant grading over time.
Who is GradeTool for?
This public version of GradeTool is intended for individuals wishing to accurately assess the condition of their cards.
It is strictly forbidden to use GradeTool for commercial purposes.
Use of GradeTool by companies other than PCC-Grading is prohibited.
Next
Understanding the interface
Understanding the interface
To fully utilize the tool, it is essential to understand its interface.
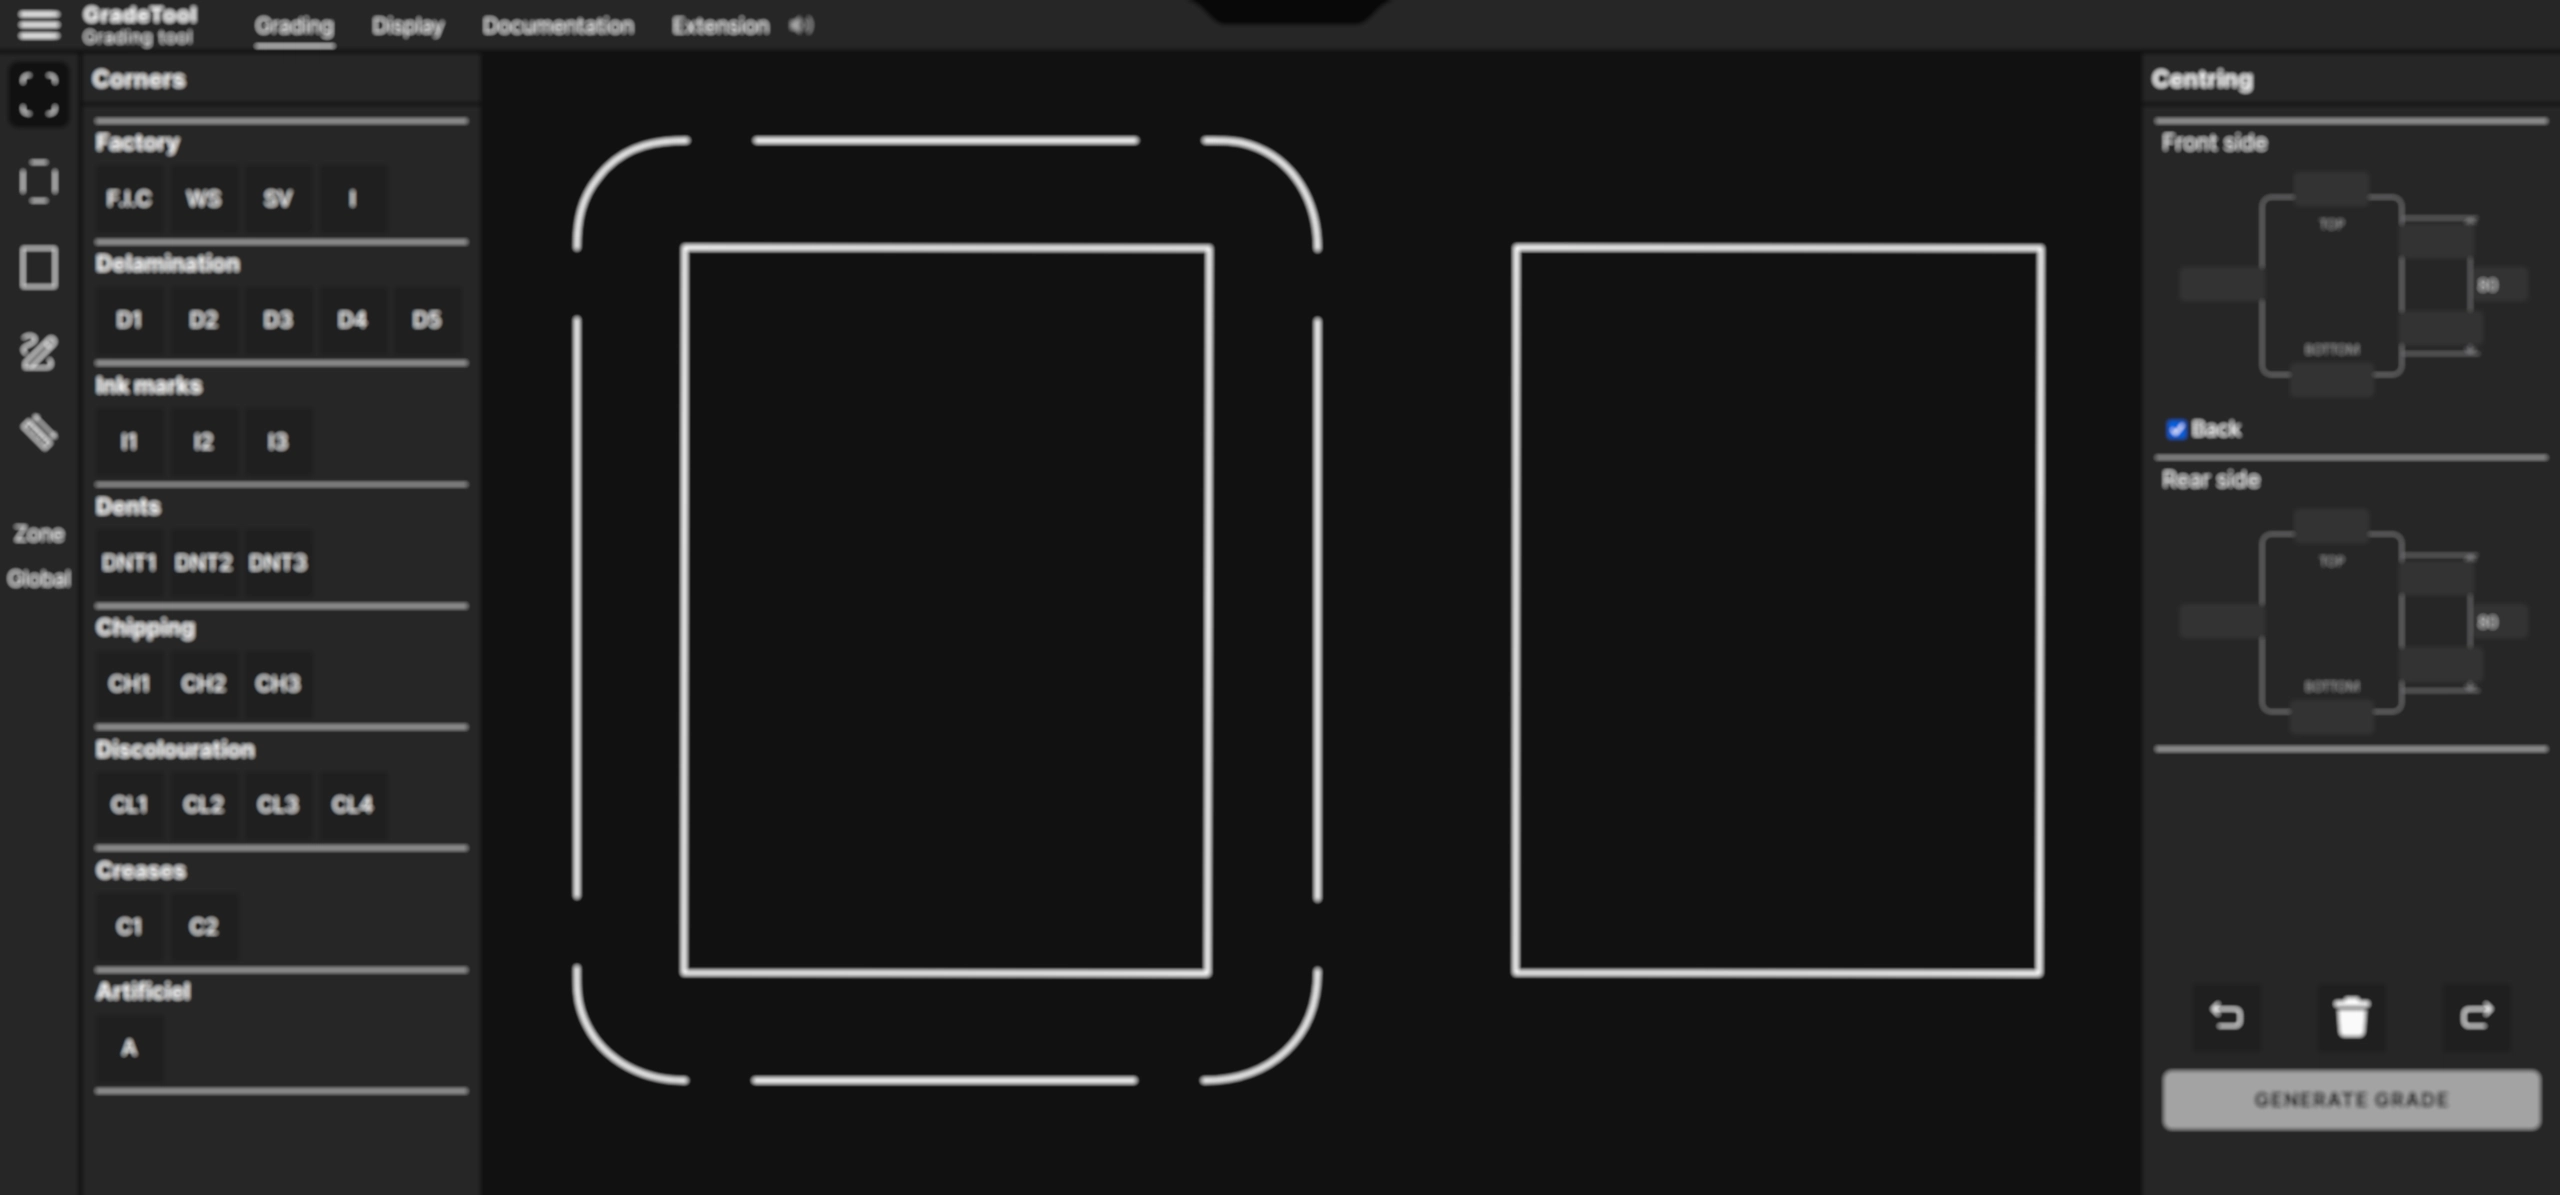
The GradeTool interface consists of three main sections.
1. Defect list section
This section contains a list of imperfections or damages commonly found on cards. The first column allows you to choose the concerned subgrade (corners, edges, or surface). The second column allows you to select the observed defect. Once a defect is selected, simply place it in the drawing area of section #2.
The defects corresponding to each subgrade are displayed on the right as a list.
Learn more
Defect section
2. Drawing area
Once a defect is selected, simply click where you want to apply it.
3. CENTERING, editing, and submission section
The subgrade parameter "CENTERING" is located at the top of this section.
At the bottom, you will find editing tools (Undo, Redo, Reset) as well as the grading calculation button.
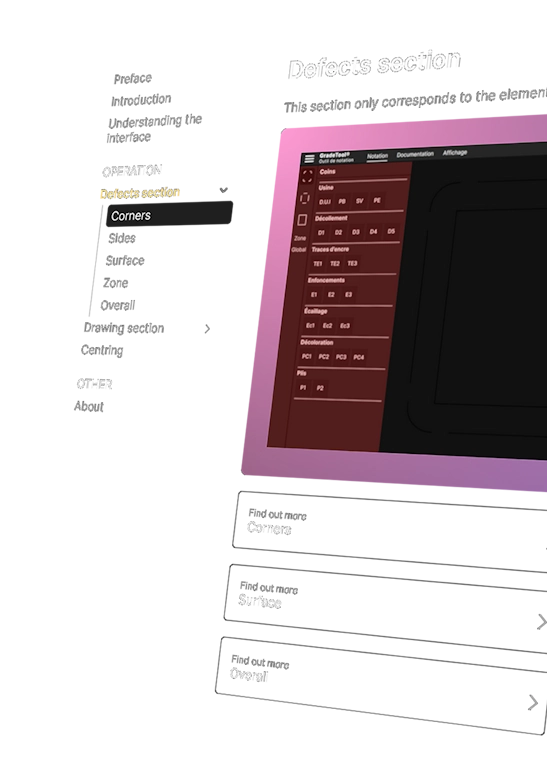
Defects section
This section corresponds only to the elements on the left side of the interface
CORNERS
The name GradeTool as well as its functional elements (structure, grading system, user interface) are protected under intellectual property rights.
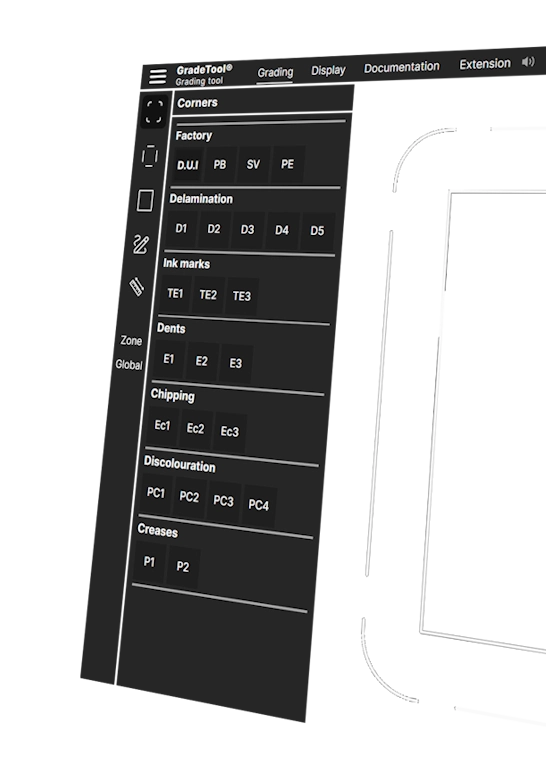
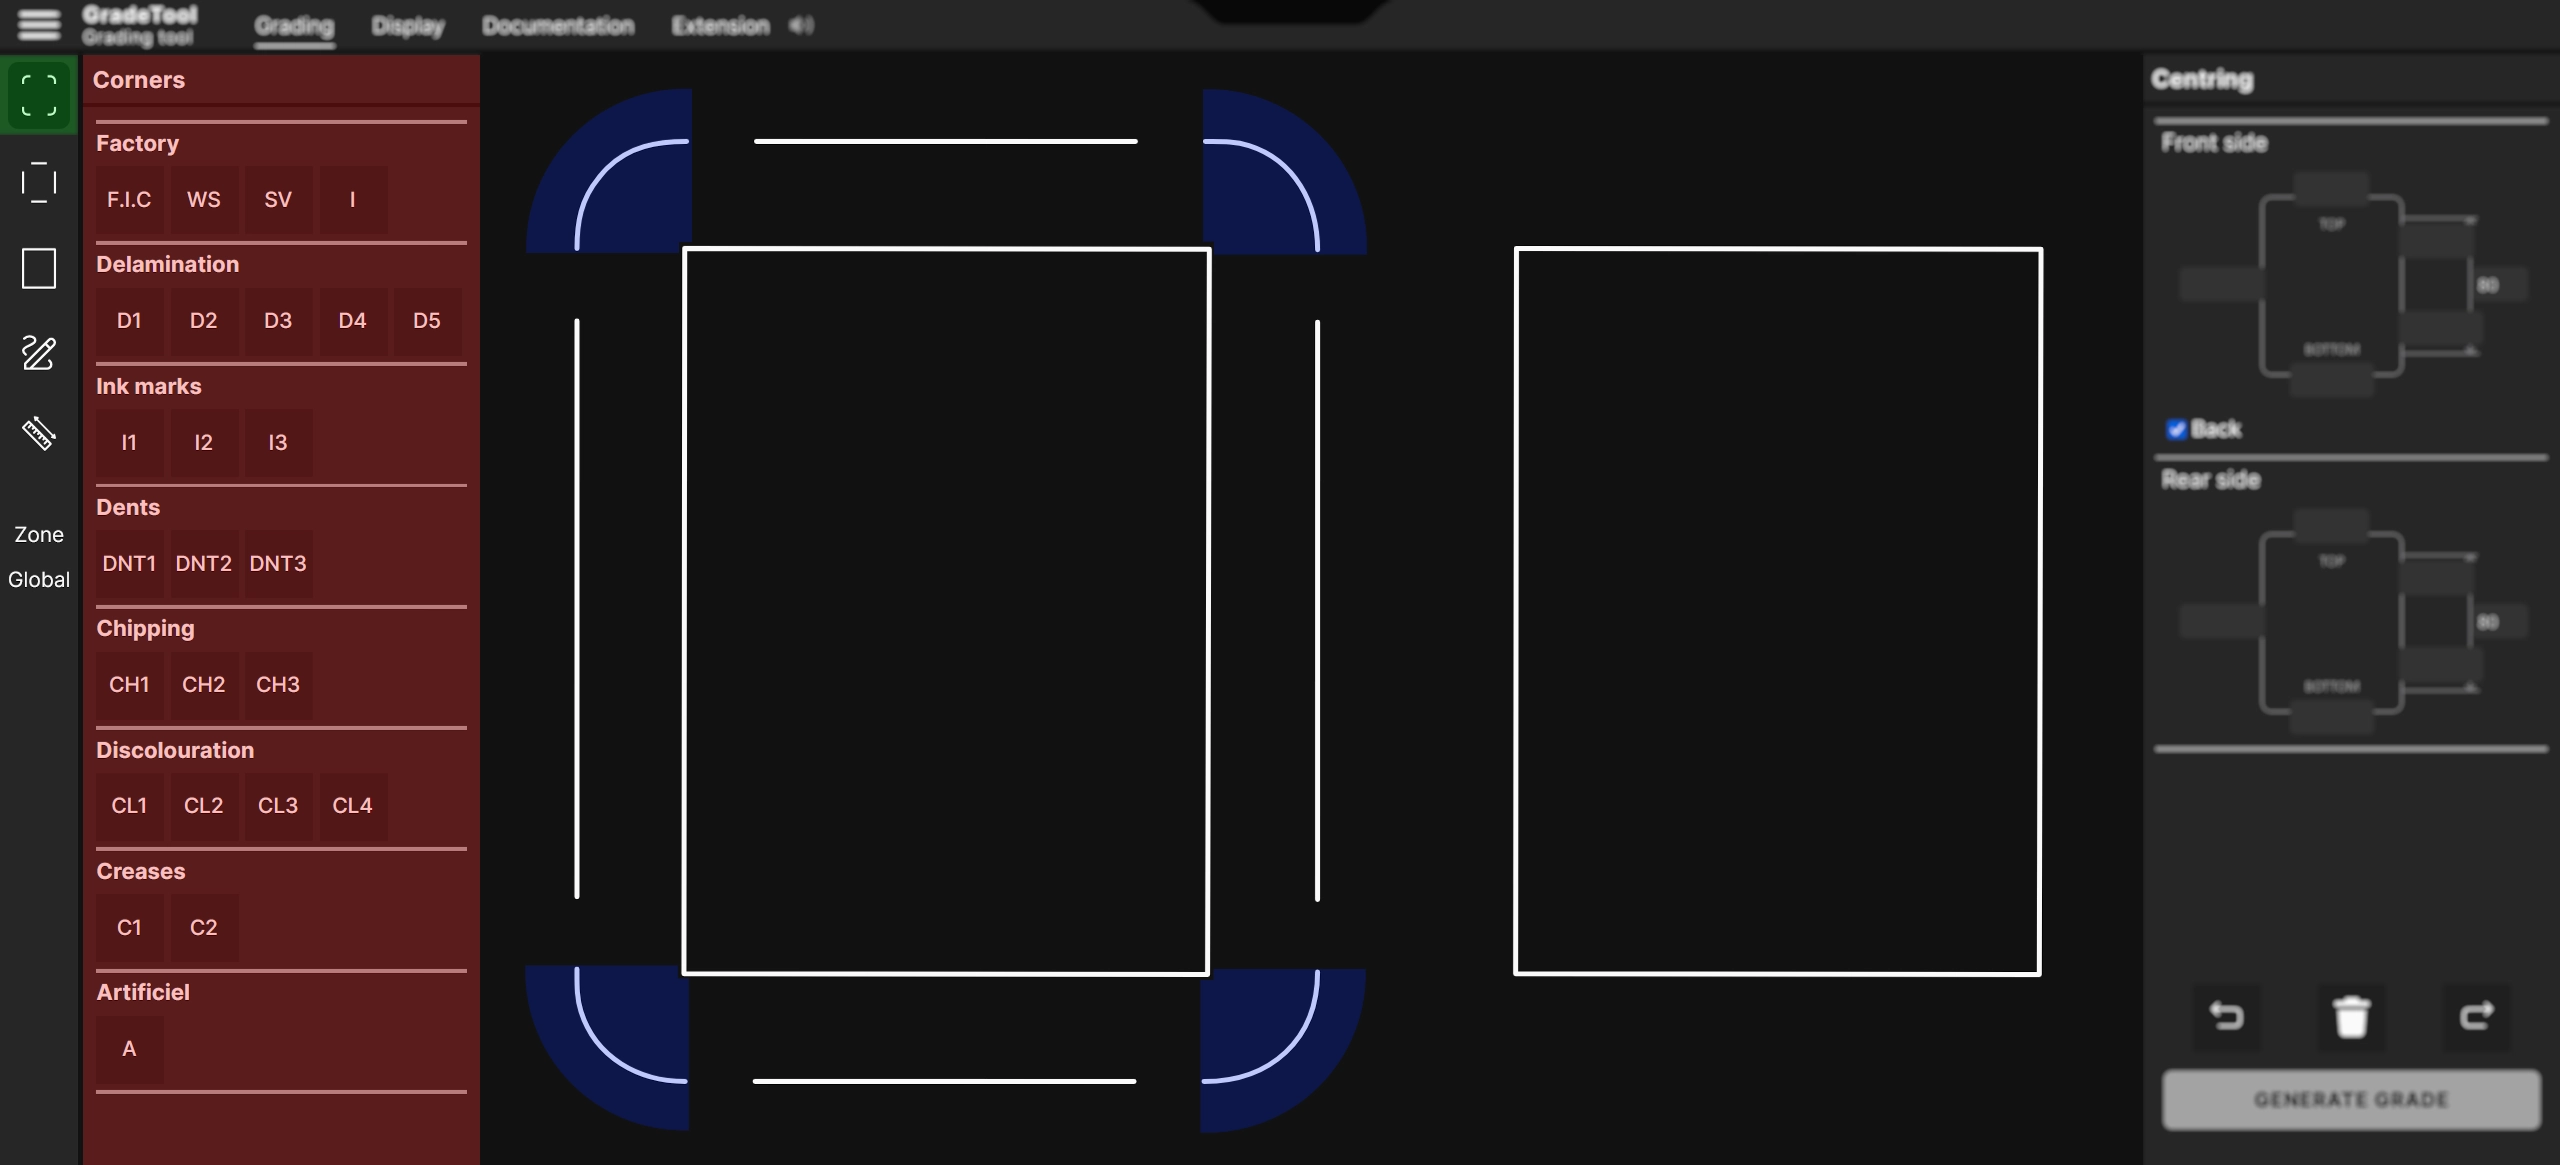
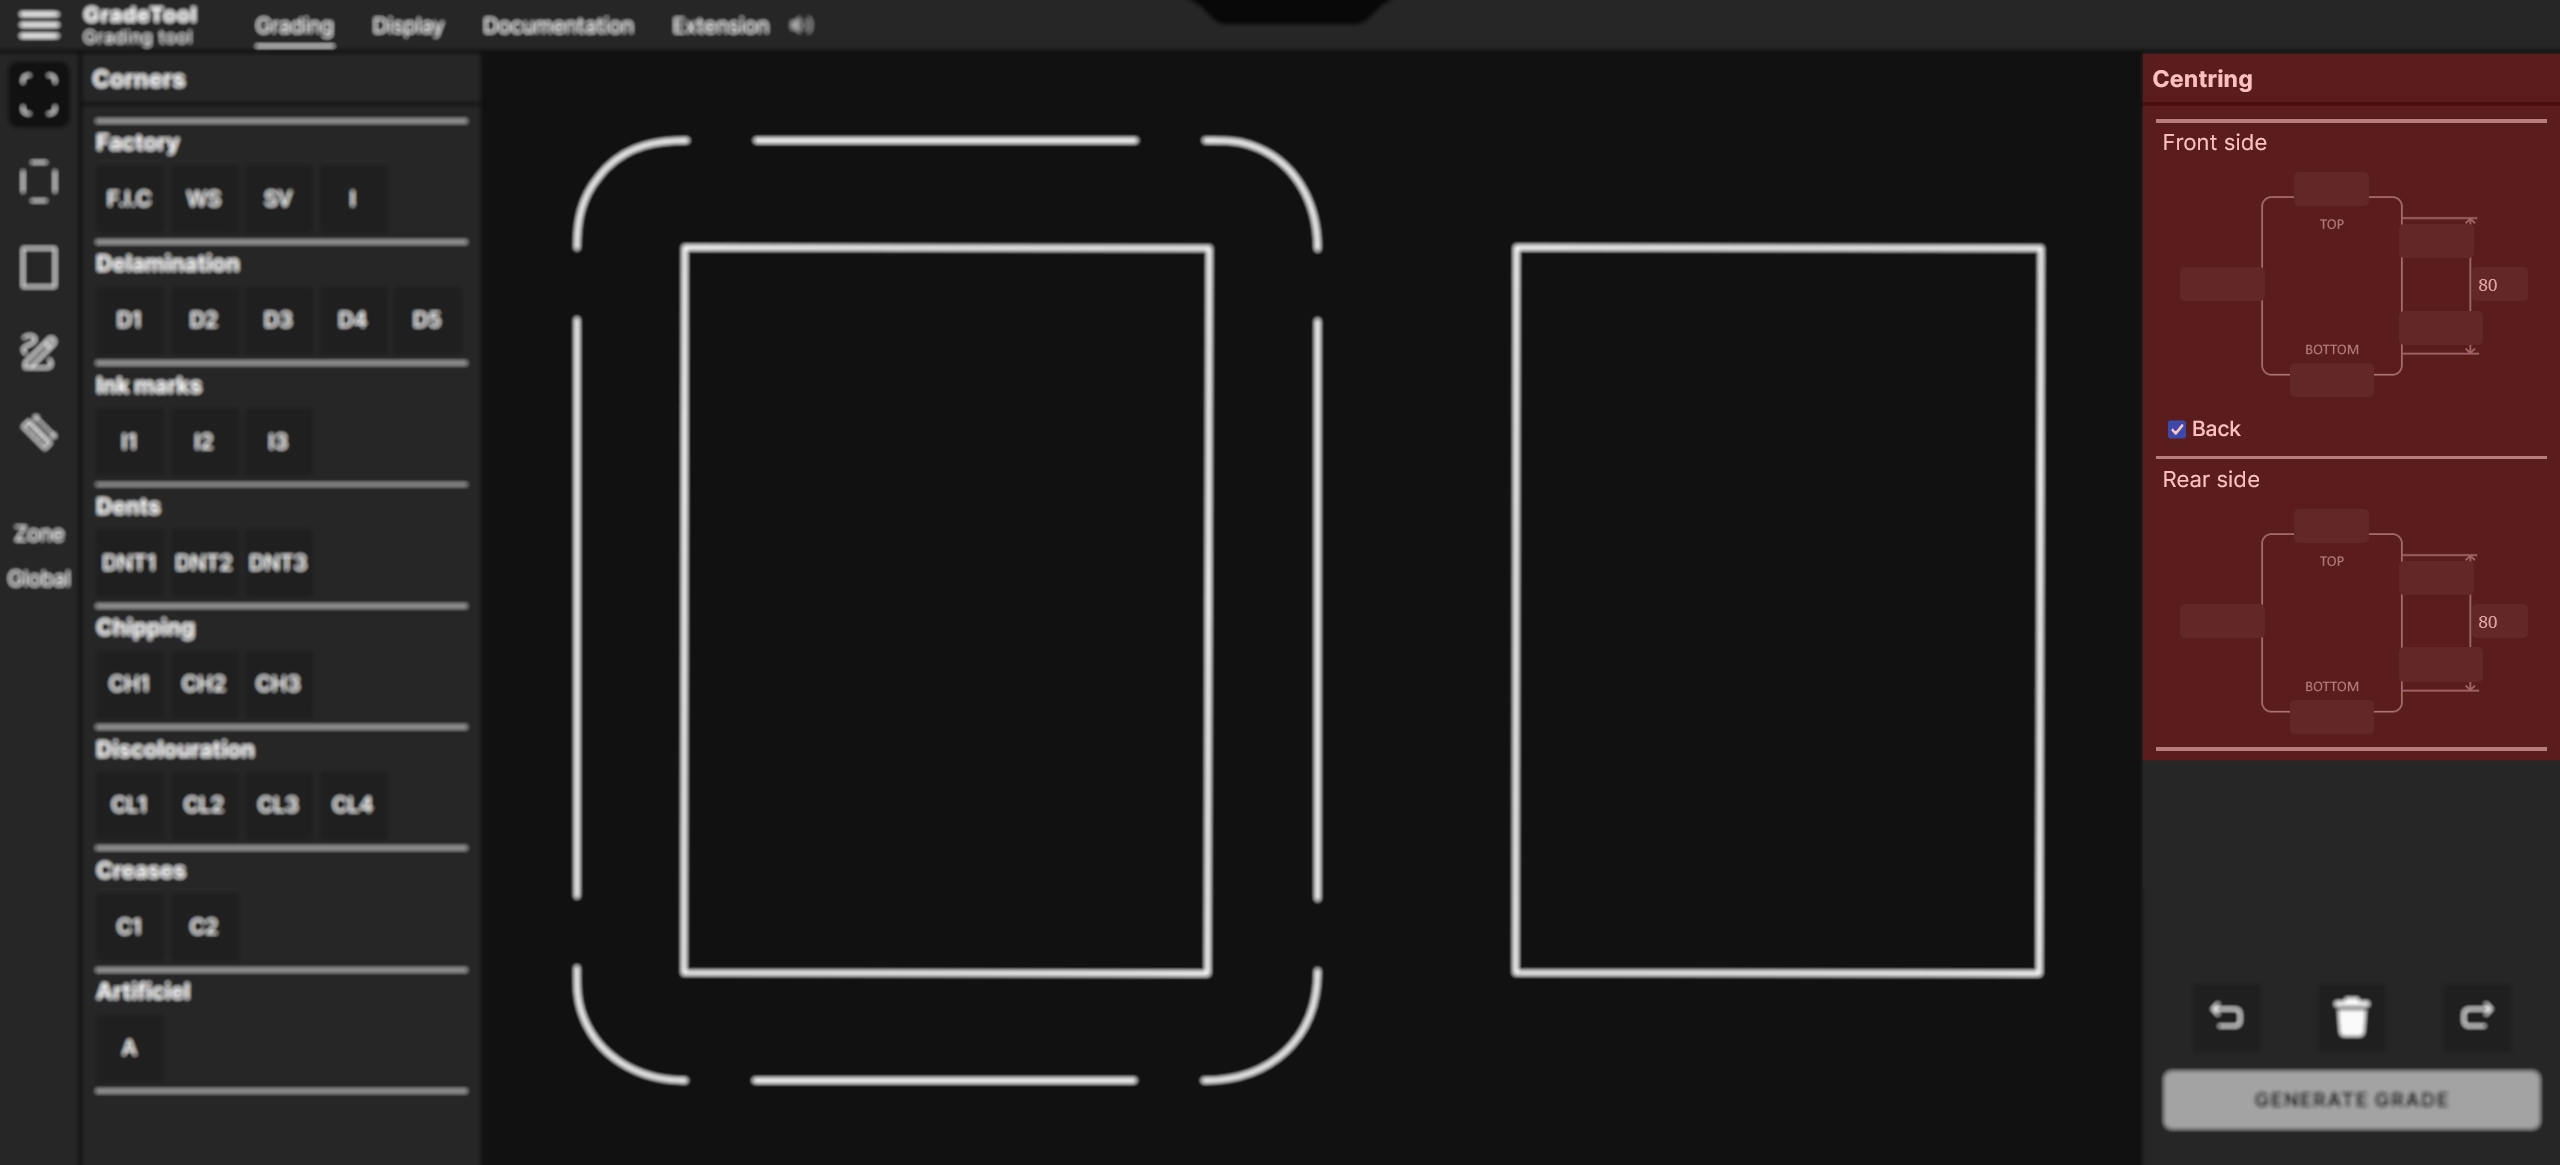
This image illustrating the GradeTool interface will help us better understand the "CORNERS" tool.
1. Green element
Click on the "CORNERS" icon (green area) to open the list of defects related to the corners of a card.
2. Red element
Here is the list of potential defects on the corners of a card.
The defects are categorized as Factory, Lifting, Ink marks, Indentations, Chipping, Discoloration, and Creases.
Identify the category that matches what you see on your card.
Once the defect type is identified, you can select its intensity. For example, Ec1 corresponds to a light chipping defect, while Ec3 indicates a clearly visible chipping.
3. Blue element
After identifying the category and intensity of the defect, click on the corresponding box.
Then, you can apply your selection directly on the drawing area (blue zone).
EDGES
Do you visually identify defects on the edges of your card? Indicate them in GradeTool.
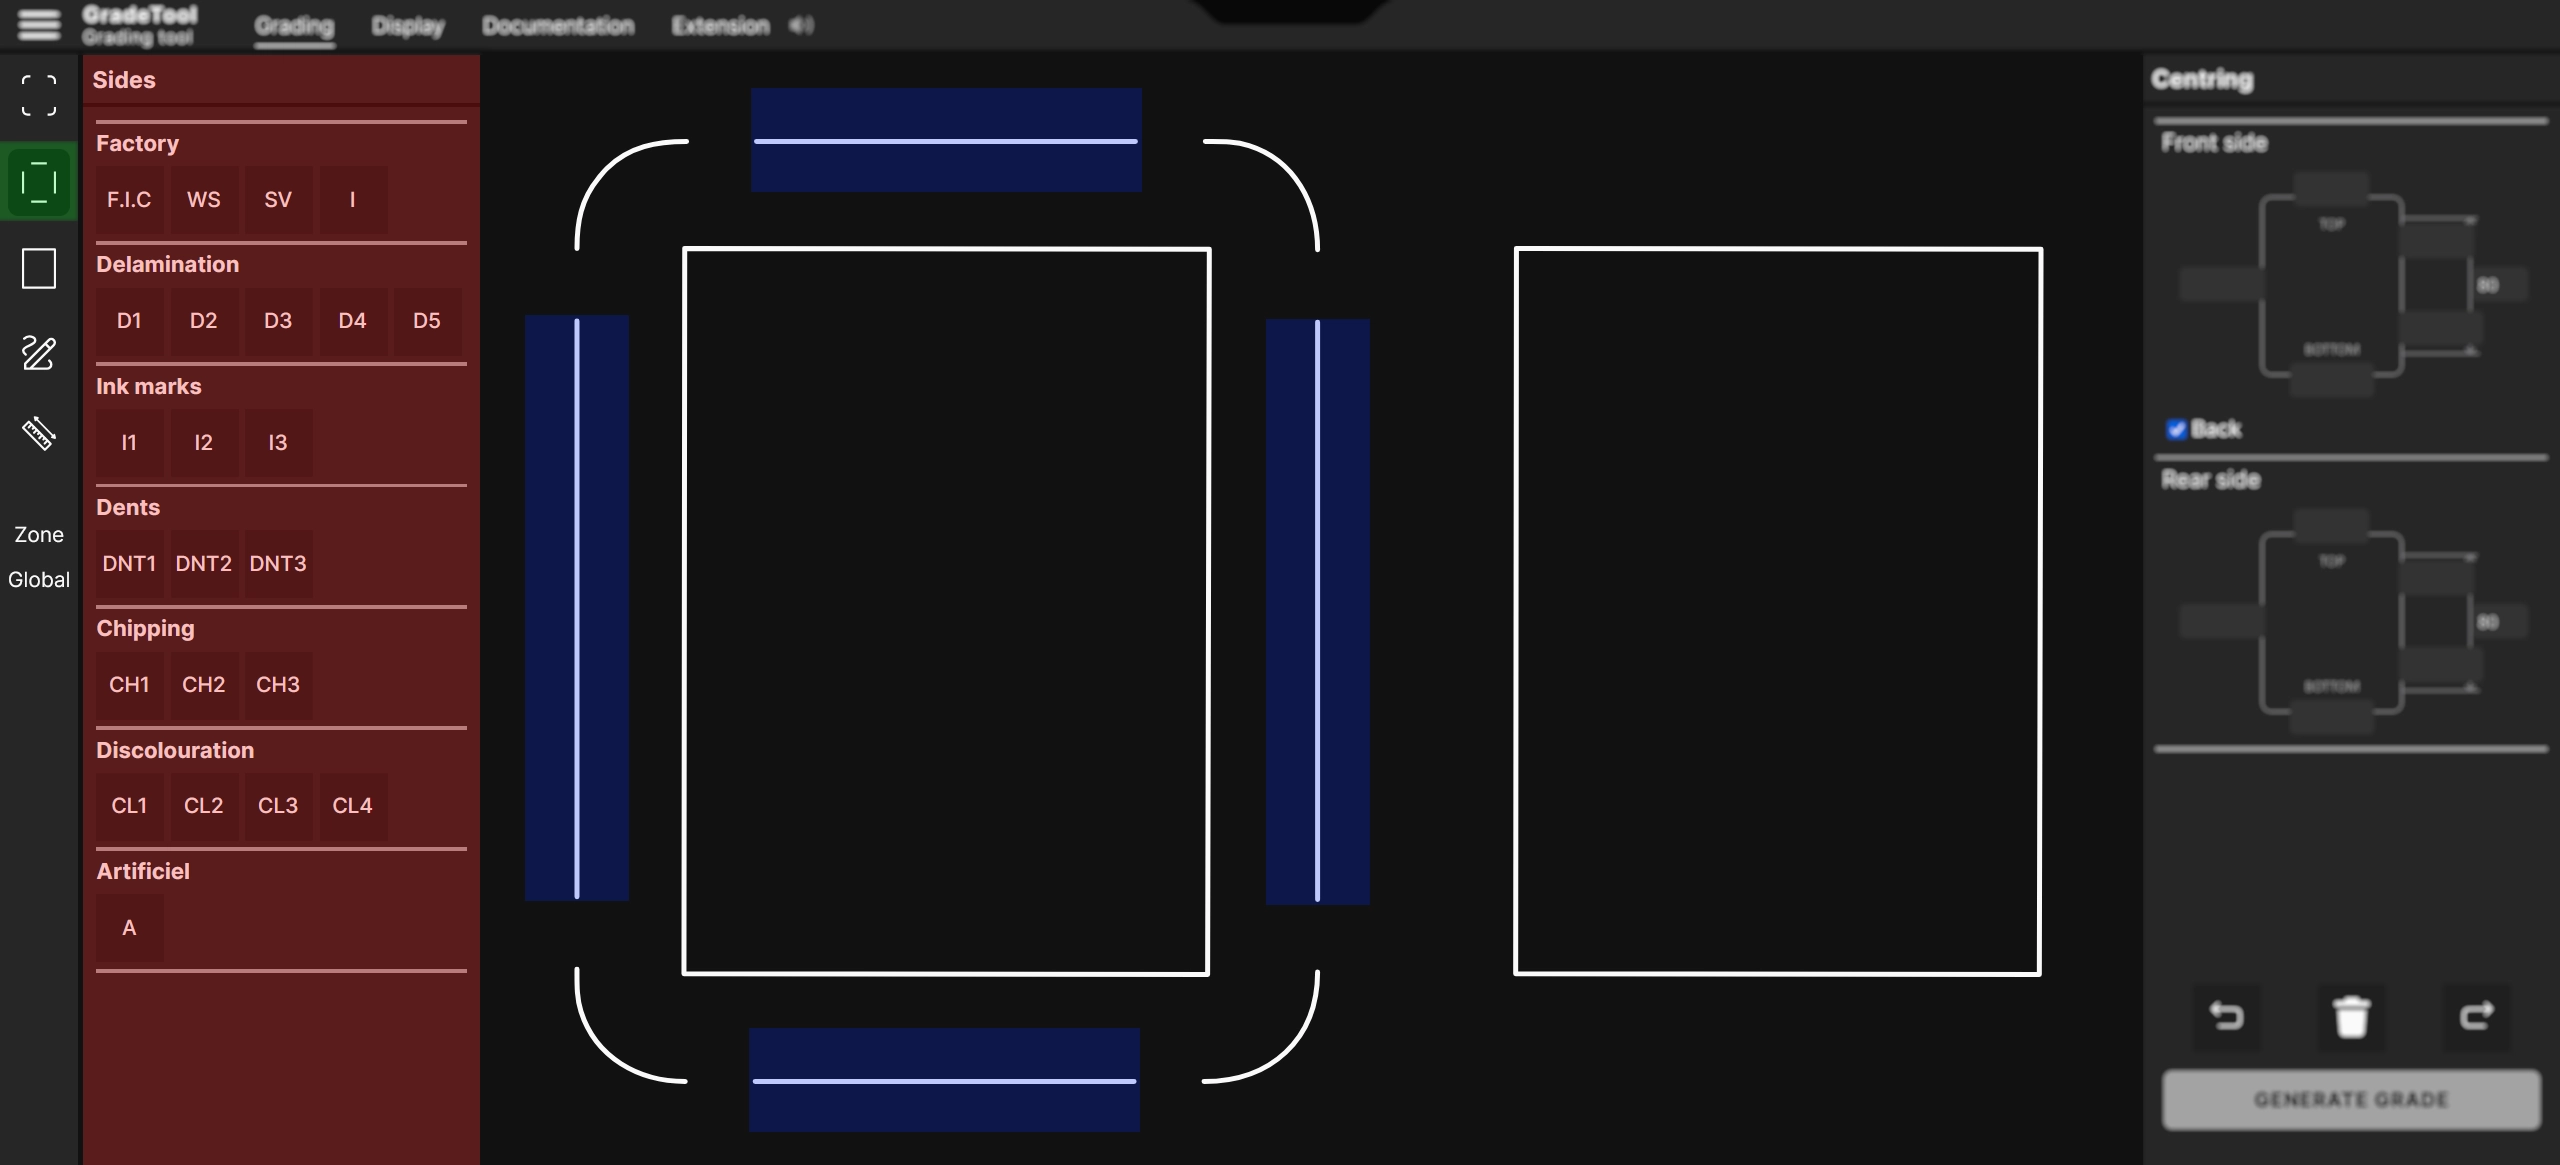
This image illustrating the GradeTool interface will help us better understand the "EDGES" tool.
1. Green element
Click on the "EDGES" icon (green area) to open the list of defects on the edges of the card (red area).
2. Red element
Here is the list of potential defects on the sides of a card.
Defects are classified by category: Factory, Lifting, Ink marks, Indentations, Chipping, Discoloration.
Identify the category corresponding to what you see on your card.
Once the type of defect is identified, you can select its intensity. For example, Ec1 corresponds to a light chipping defect, while Ec3 indicates a well-visible chipping.
3. Blue element
After identifying the category and intensity of the defect, click on the corresponding box.
Then, you can apply your selection directly on the drawing area (blue zone).
SURFACE
Do you visually identify defects on the surface of your card? Indicate them in the GradeTool.
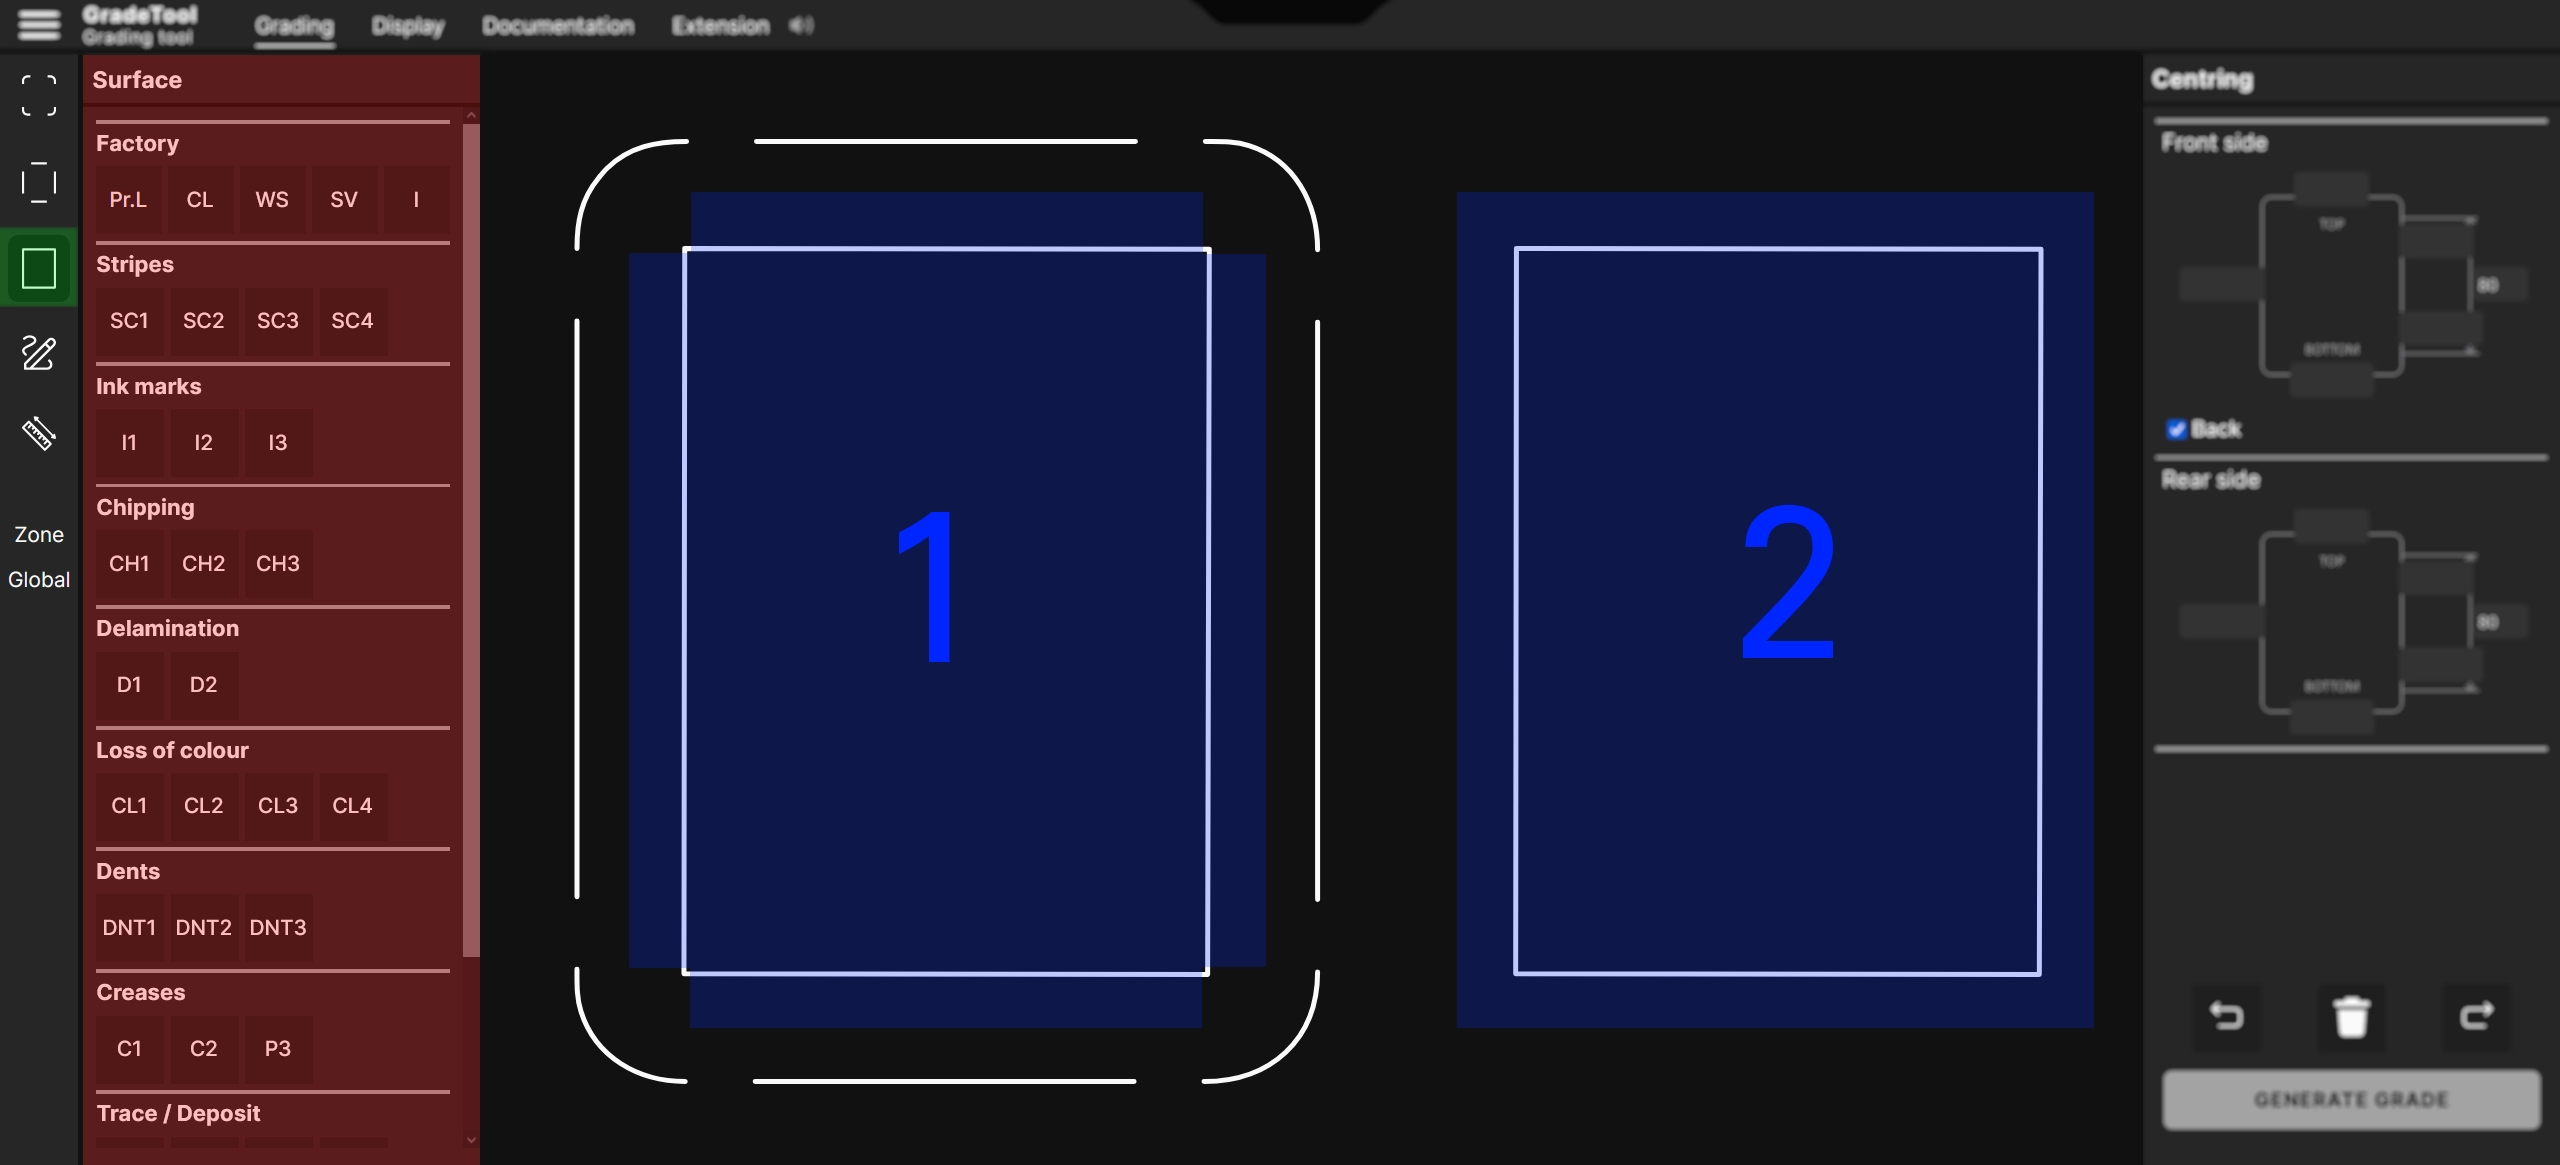
This image illustrating the GradeTool interface will help us better understand the “Surface” tool.
1. Green element
Click on the “Surface” icon (green area) to open the list of edge defects of the card (red area).
2. Red element
Here is the list of potential defects on the sides of a card.
Defects are classified by category: Factory, Scratches, Ink marks, Chipping, Lifting, Loss of color, Indentations, Plus, Mark/Deposit.
Identify the category corresponding to what you see on your card.
Once the type of defect is identified, you can select its intensity. For example, Ec1 corresponds to a light chipping defect, while Ec3 indicates a well-visible chipping.
3. Blue element
After identifying the category and intensity of the defect, click on the corresponding box.
Then, you can apply your selection directly on the drawing area (blue zone).
A. Zone “1” corresponds to the front of the card
B. Zone “2” corresponds to the back of the card
Area
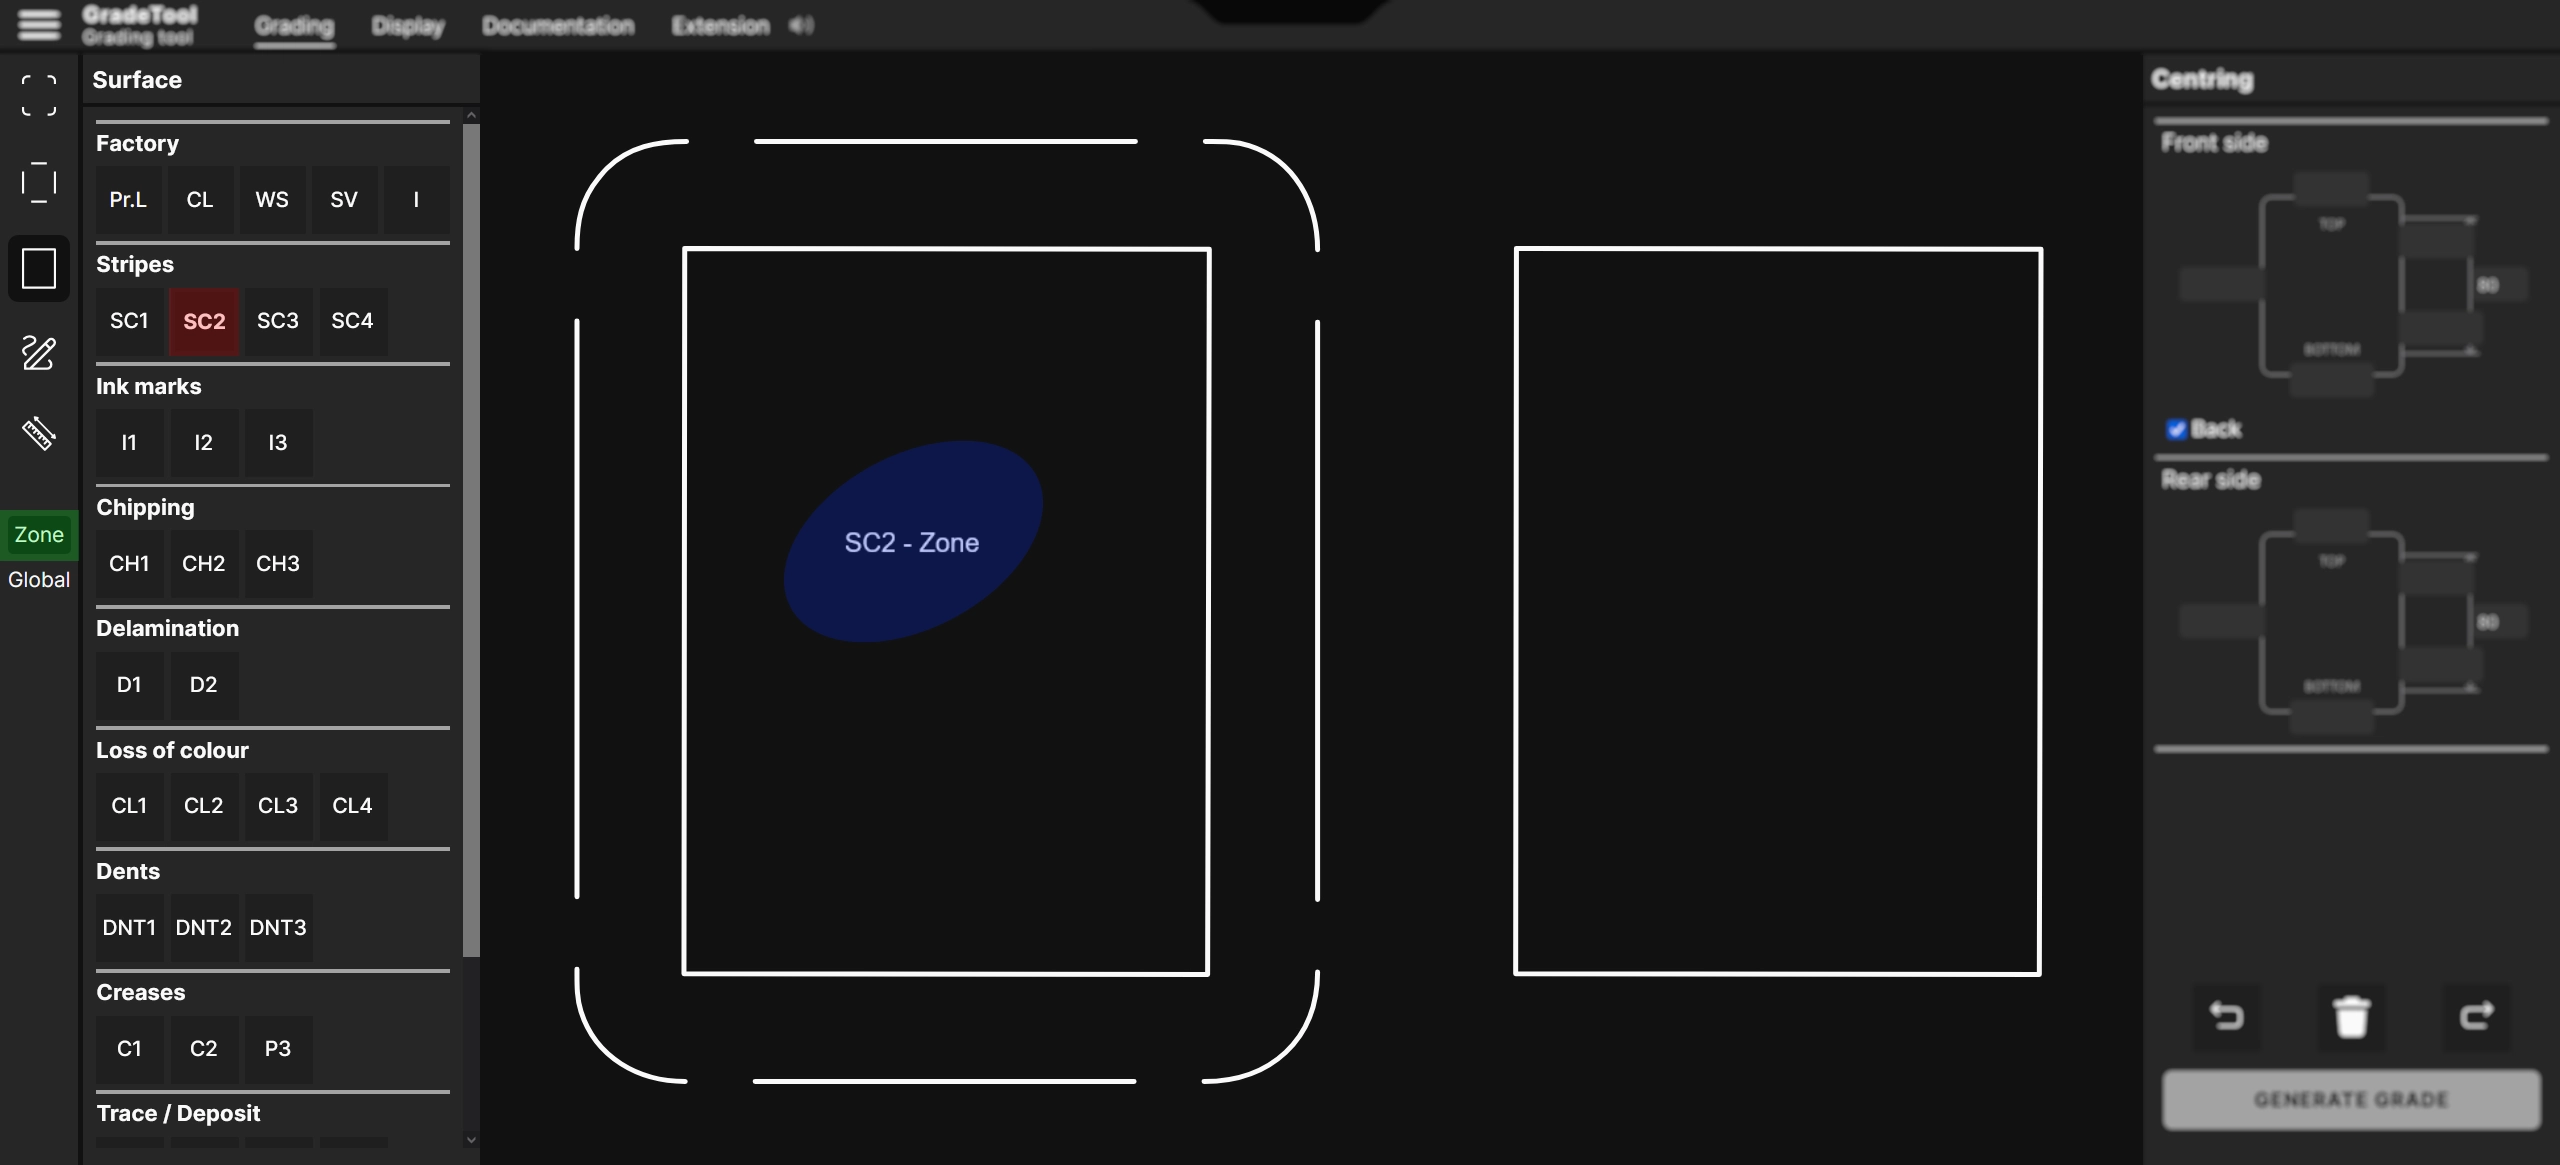
The Zone tool highlights the multiple presence of a defect located on an area of the card. For example, if a card has several scratches of intensity 2 close to each other, the Zone tool should be used.
This image illustrating the GradeTool interface will help us better understand the “Zone” tool.
1. Green element
The Zone tool, once activated, is surrounded by a black border.
2. Red element
The Zone tool is designed to work in association with all defect categories.
In this example, the red element represents R2.
The Zone tool will therefore apply to R2.
3. Blue element
By clicking on the drawing part, the inscription “R2 - Zone” appears, which means you have identified several scratches of intensity 2 on this part of the card.
The Zone tool has an impact on the final grade.
Overall
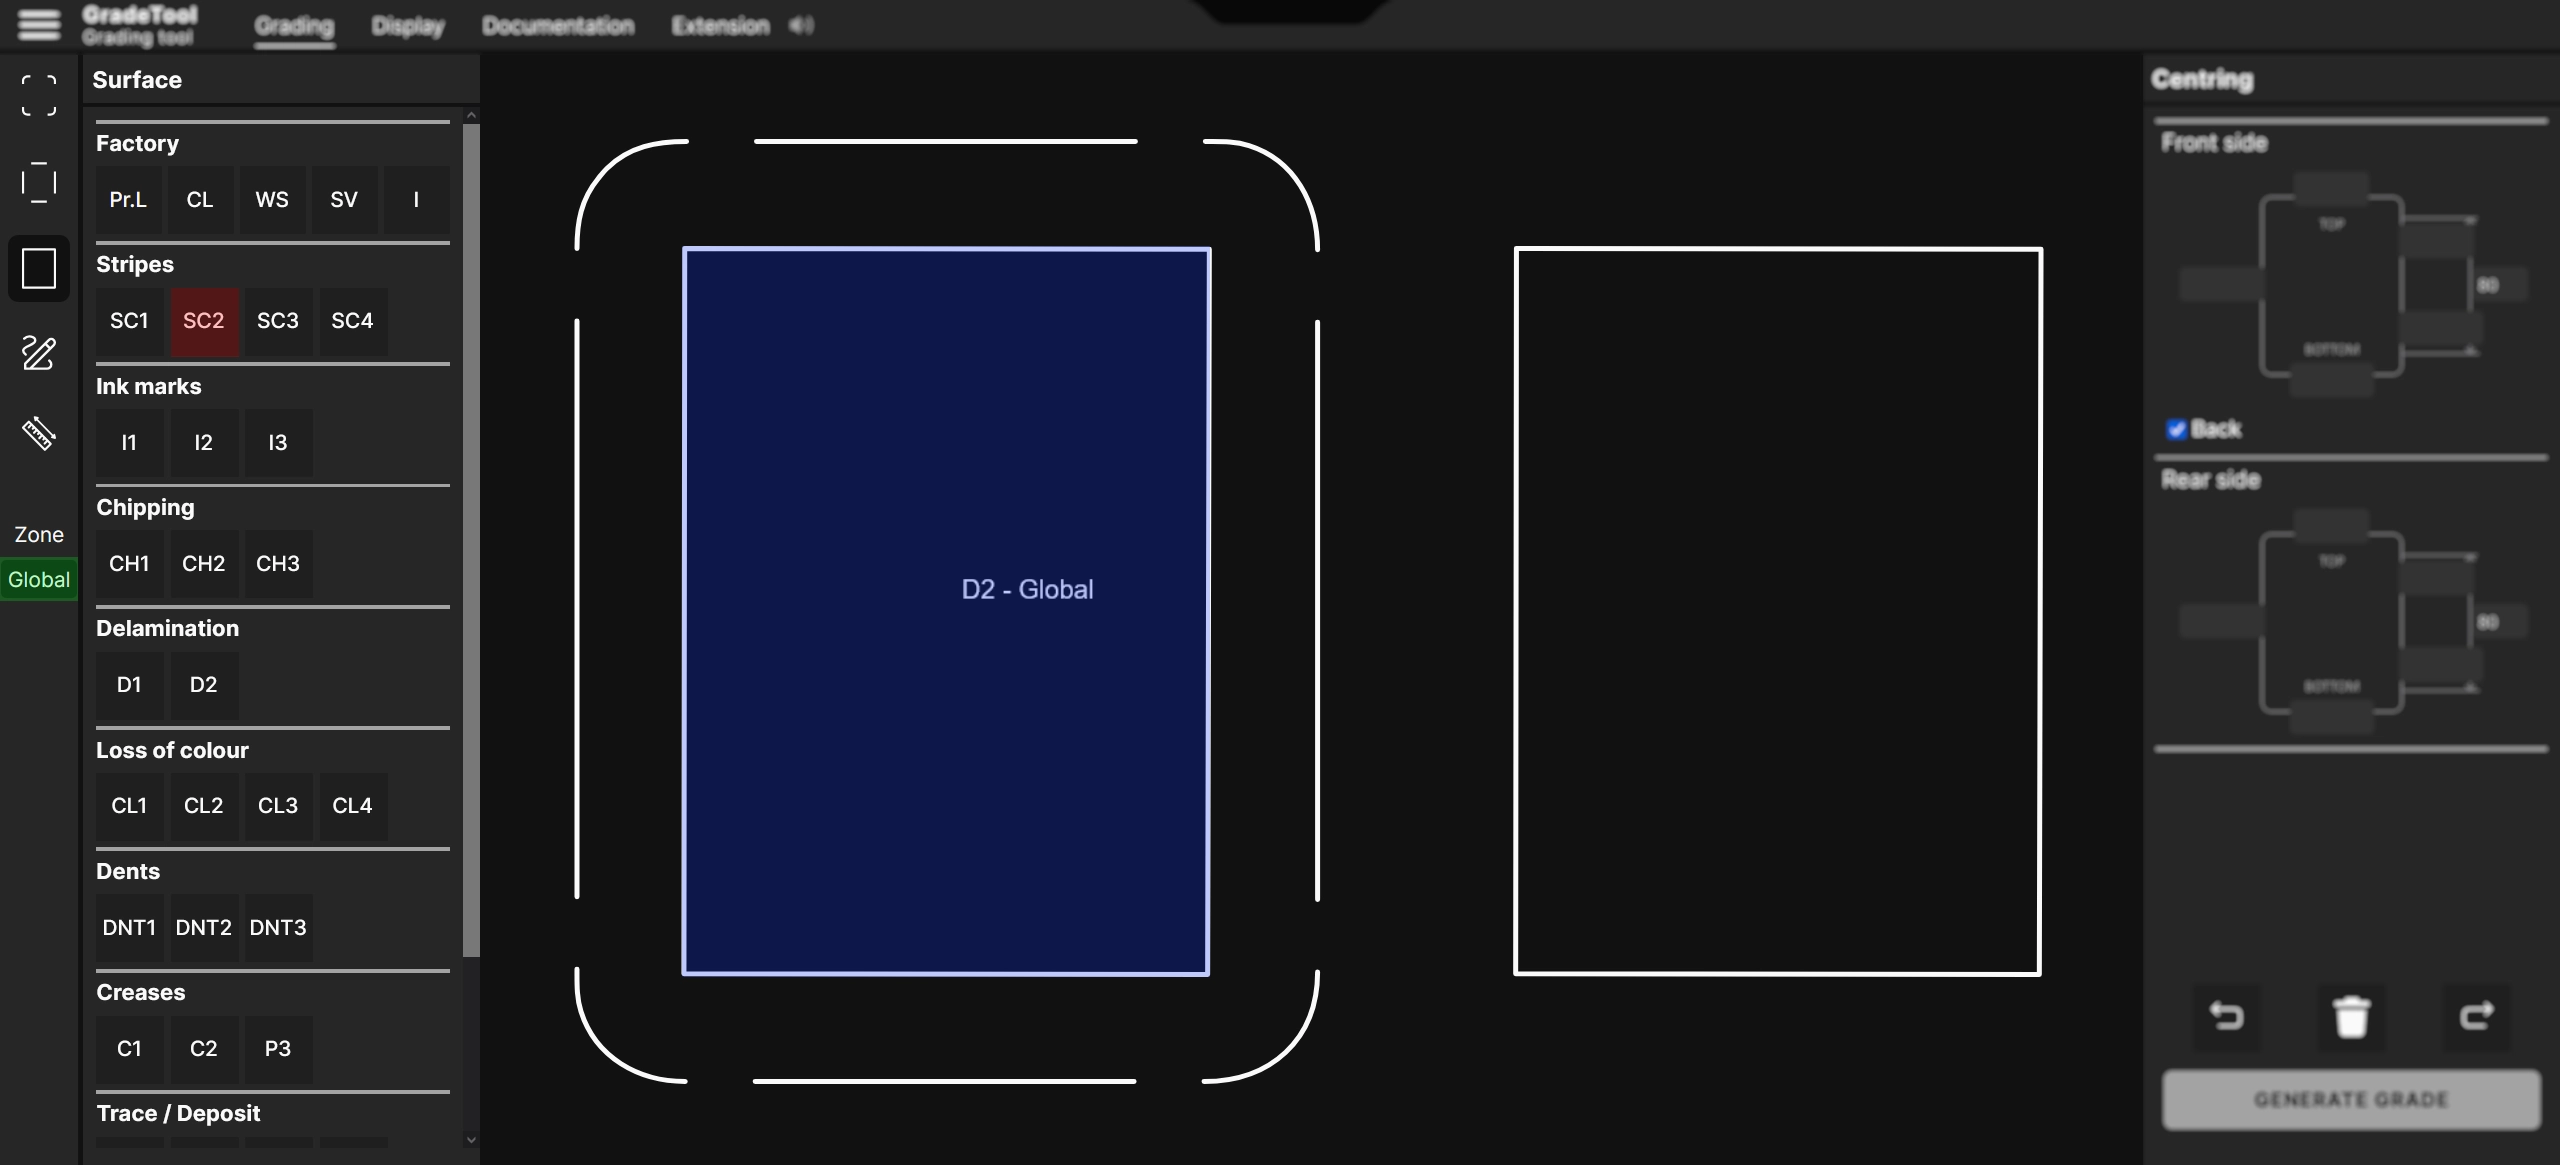
The Global tool highlights the multiple presence of a defect spread over the entire card. For example, if a card has a multitude of scratches of intensity 1 spread over the entire surface, the Global tool should be used.
This image illustrating the GradeTool interface will help us better understand the “Global” tool.
1. Green element
The Global tool, once activated, is surrounded by a black border.
2. Red element
The Global tool is designed to work in association with all defect categories.
In this example, the red element represents R2.
The Global tool will therefore apply to R2.
3. Blue element
By clicking on the drawing area, “R2 - Global” is displayed, which means you have identified a multitude of scratches of intensity 2 spread over the entire subgrade (here: Surface).
The Global tool will have an impact on the final grade.
Drawing section
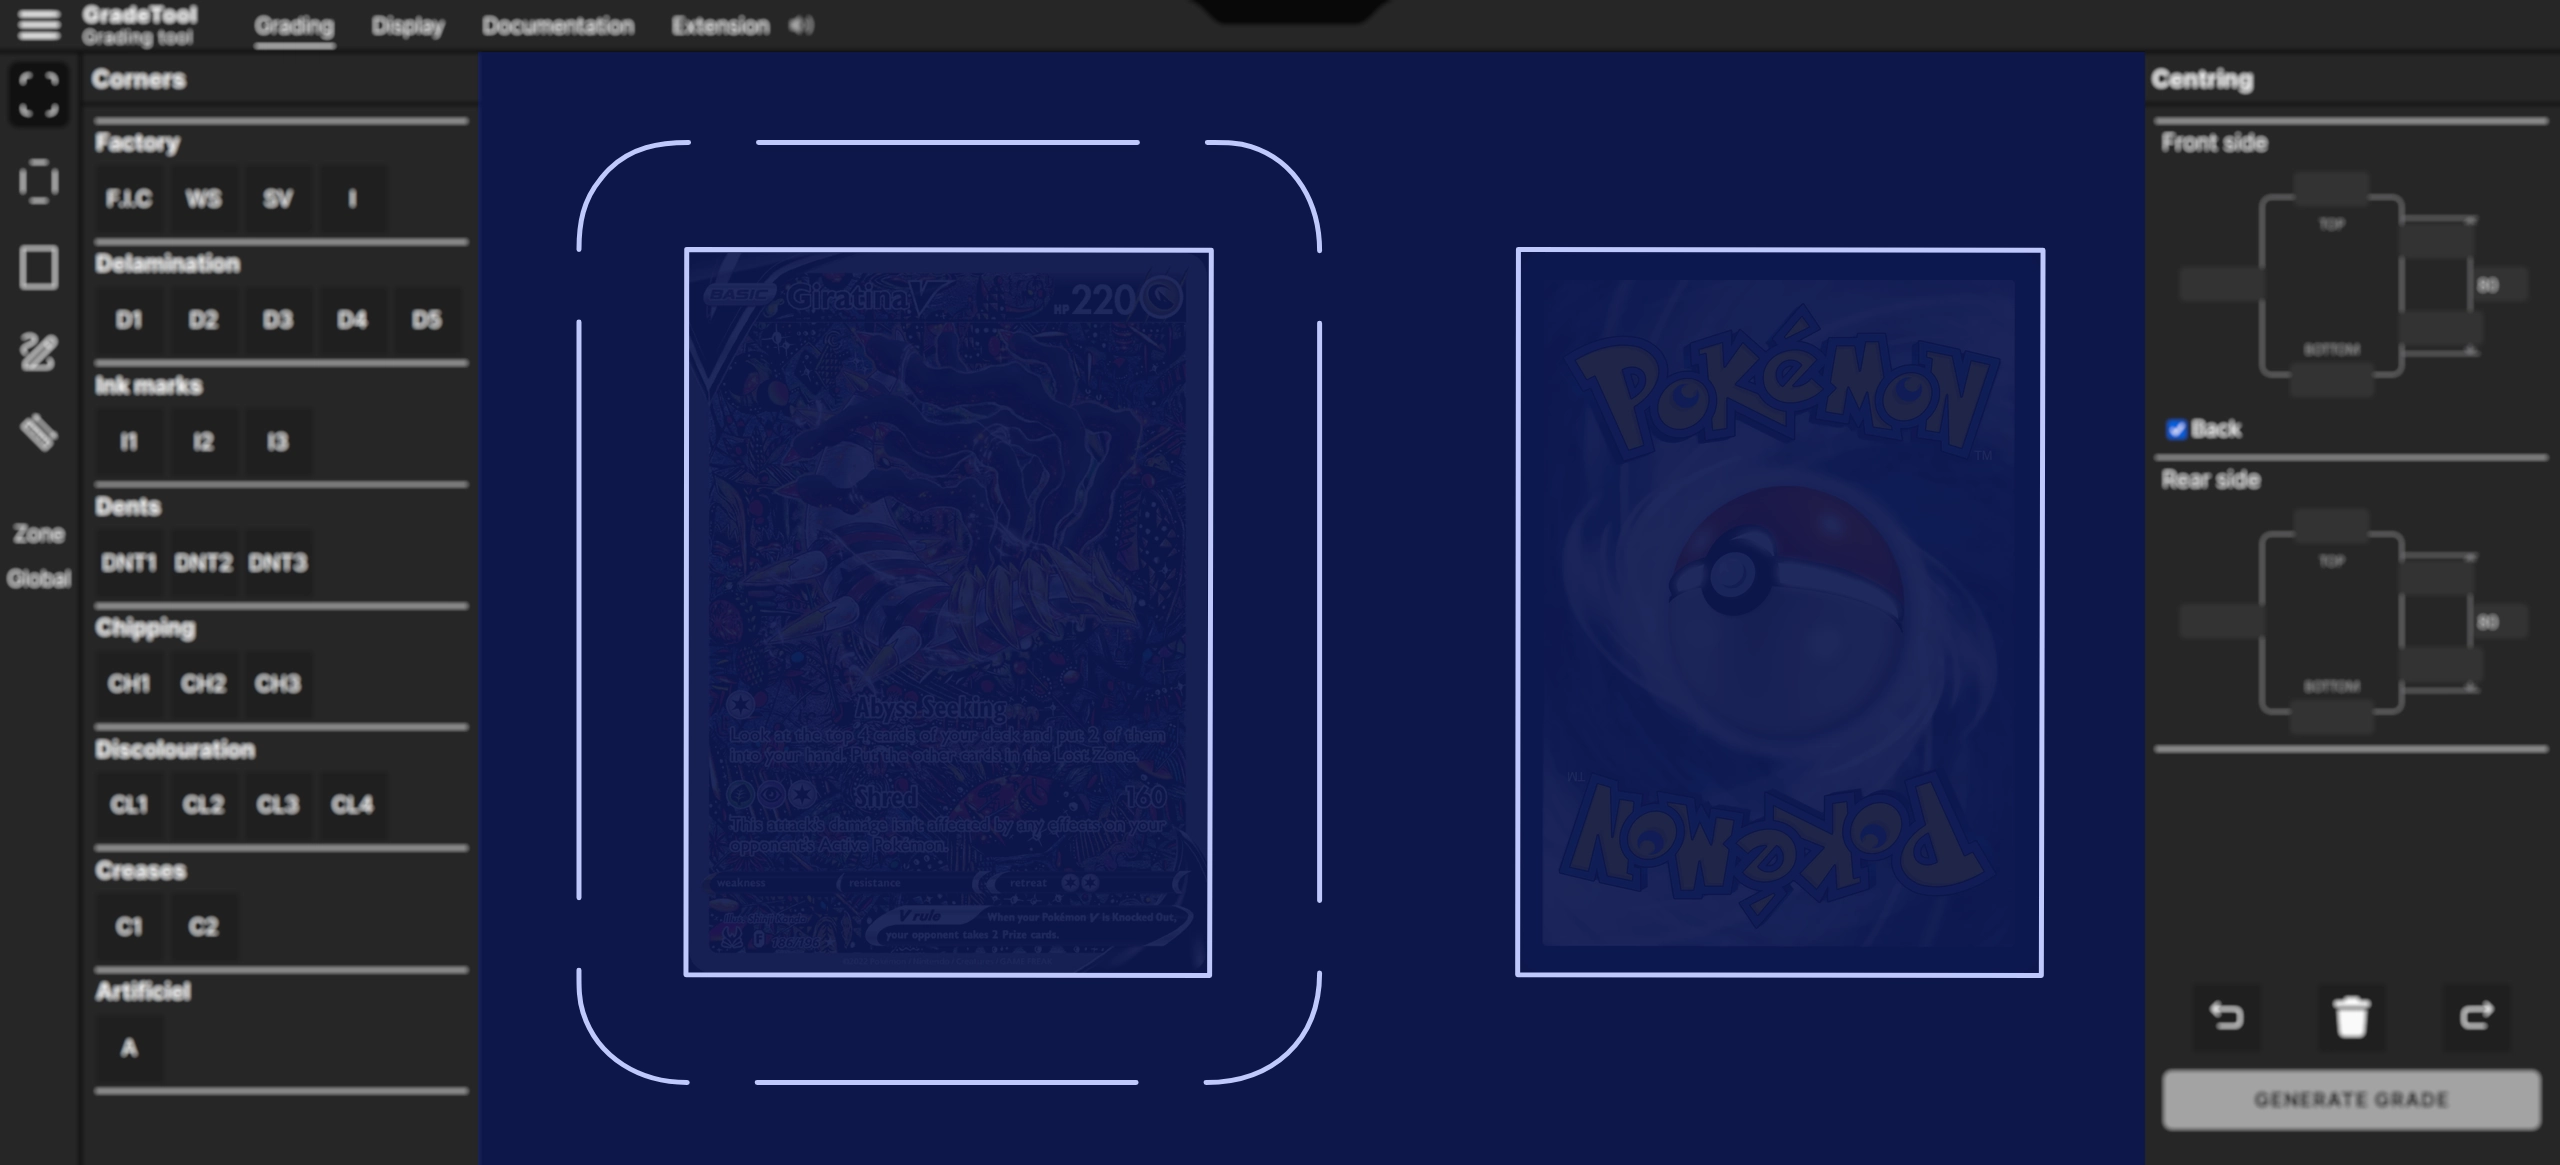
The blue area, illustrated in the example below, delimits the drawing area.
Next
Understanding the interface
Understanding the drawing interface
The blue area, illustrated in the example below, delimits the drawing area.
To display a card in the background, go to display, and select the relevant set.
Draw
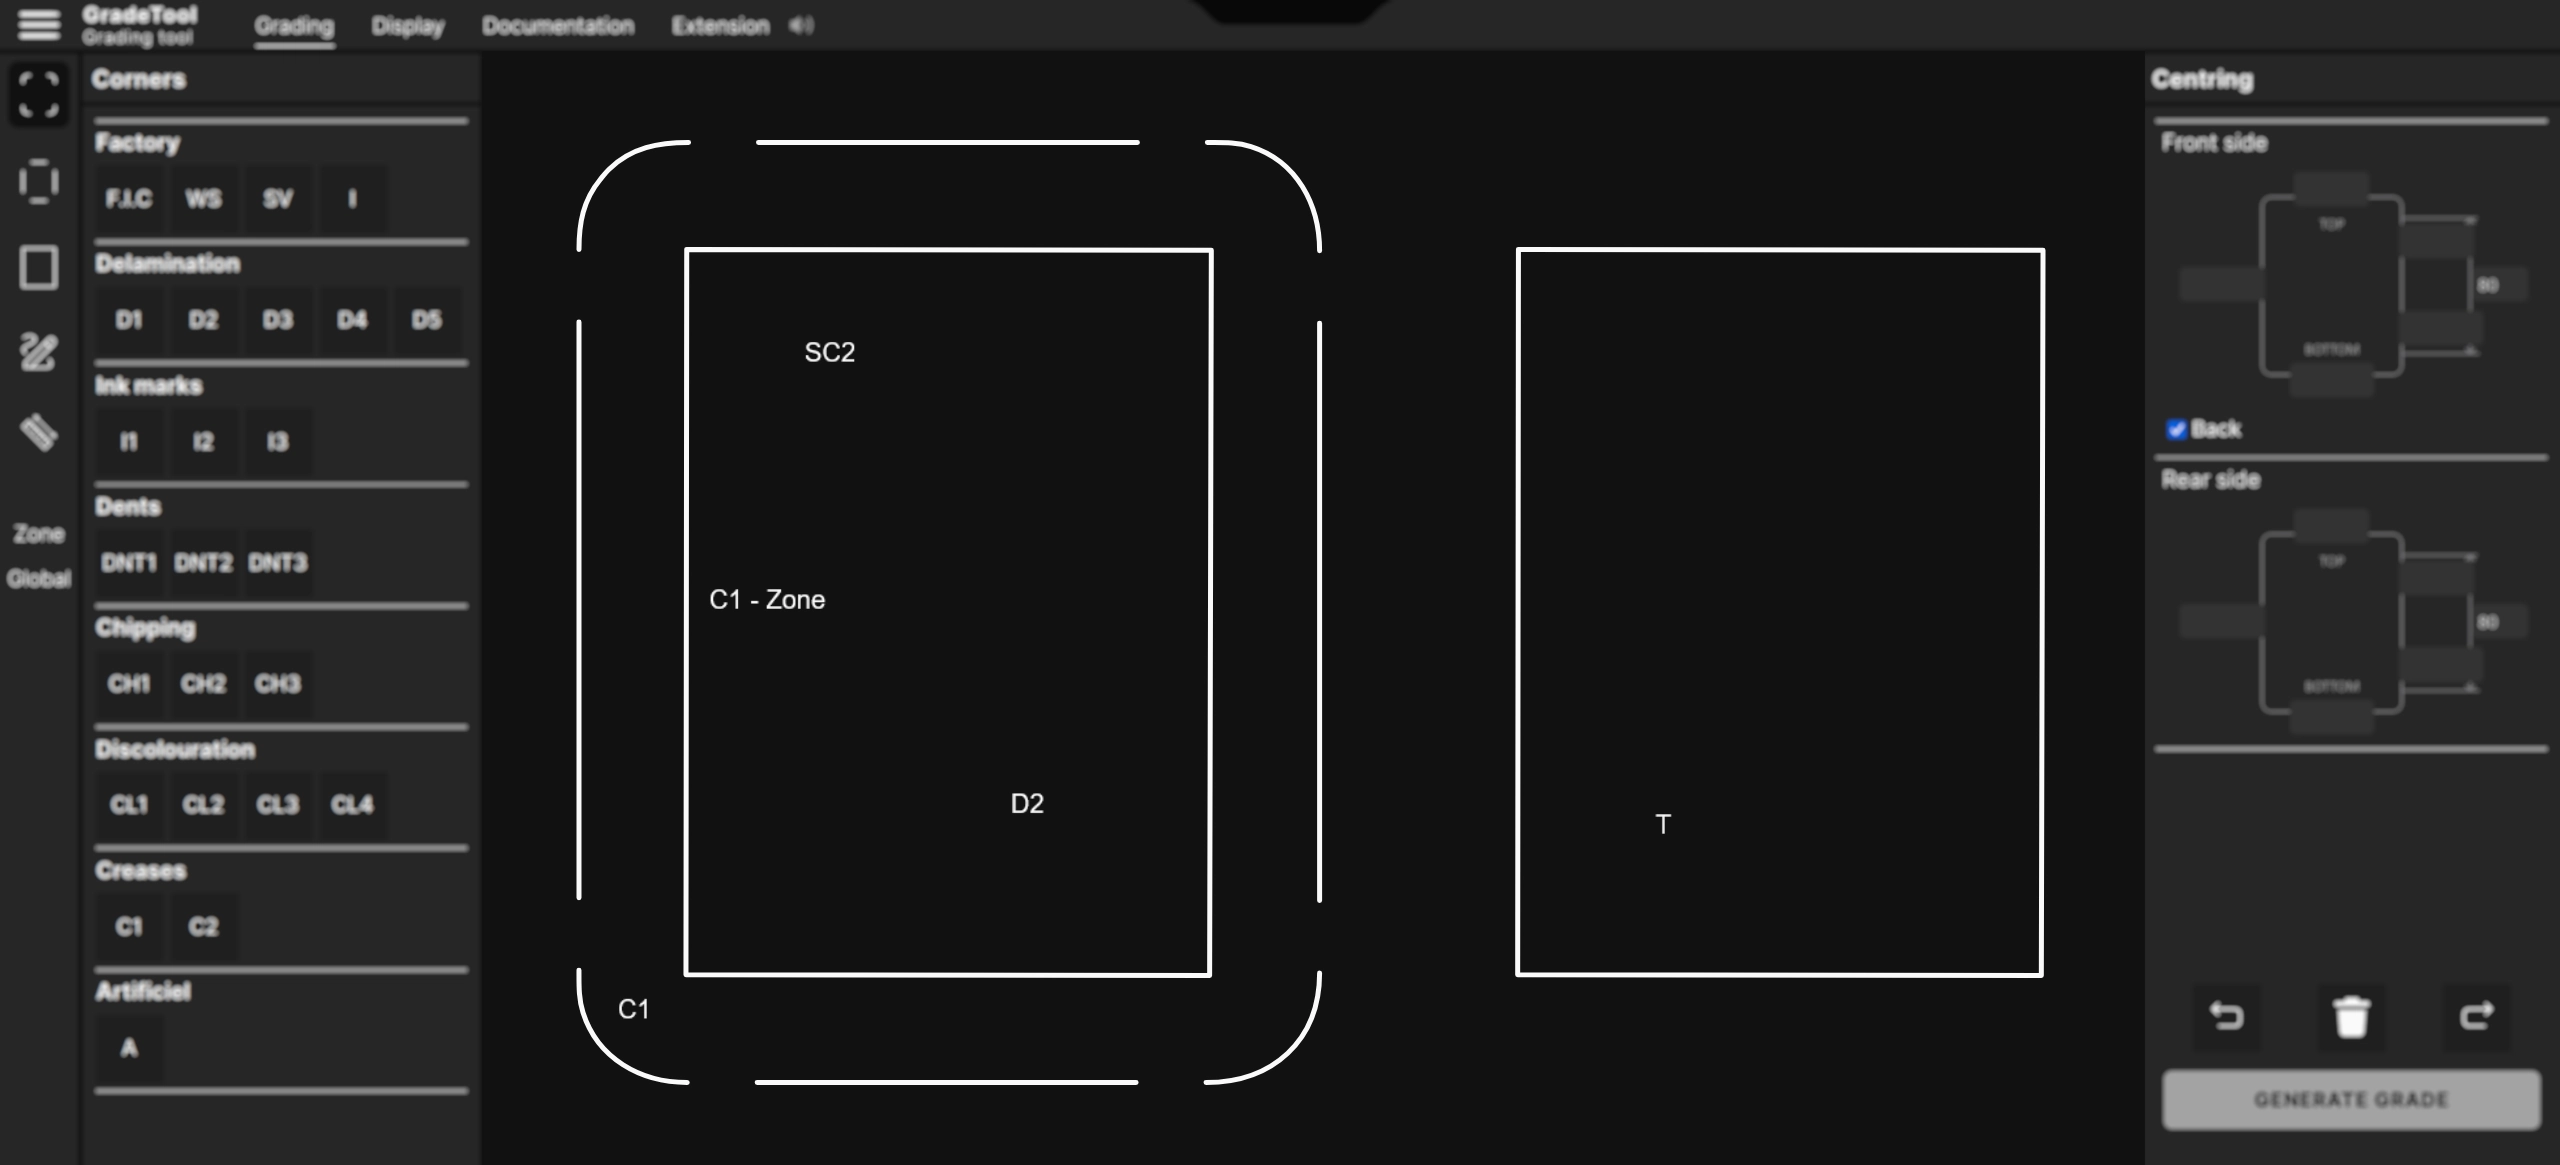
The drawing section allows you to indicate the location of defects you spotted on a card.
Once recorded in GradeTool, defects are analyzed by our algorithm to establish the scores of the 4 subgrades as well as the overall grade.
Here is an example of use
Editing tools
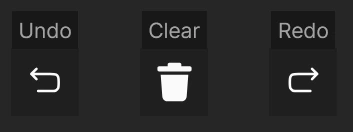
To simplify your experience, a back button allows you to undo defects added by mistake.
Undo
The Undo button allows you to cancel one or more actions. If you add a defect by mistake, use it to go back and correct your entry.
Clear (Reset)
The Clear button erases all annotations on the GradeTool tool. Use it if you want to start over and remove all recorded defects.
Redo (Restore)
The Redo button is used to restore an action undone with Undo. If you accidentally undid an action, click Redo to reapply it.
CENTERING
Centering is one of the four subgrades that influence the final grade.
If no information about centering is entered, it will automatically be considered perfect, thus assigning a score of 10 to the Centering subgrade.
How centering works
Centering generally concerns the four sides of a card, and corresponds to the distribution of borders between the print and the cut.
It also takes into account the rotation of the print relative to the cut, that is, a possible angular shift of the image ("tilted" card effect), even when the margins may appear visually balanced
However, some cards may lack measurable centering, or have it only on the front side, without any on the back, depending on their manufacturing process or design.
About
Intellectual property
The name GradeTool as well as its functional elements (structure, grading system, user interface) are protected under intellectual property rights.
Any reproduction, imitation, or exploitation without prior authorization is strictly prohibited.
Centering – Translation
Translation is a measure of the linear shift of the print relative to the cut, without taking rotation into account. It corresponds to a print shifted horizontally and/or vertically within the card borders.
The measurement is made by comparing two opposite sides of the card:
left ↔ right for horizontal translation
top ↔ bottom for vertical translation
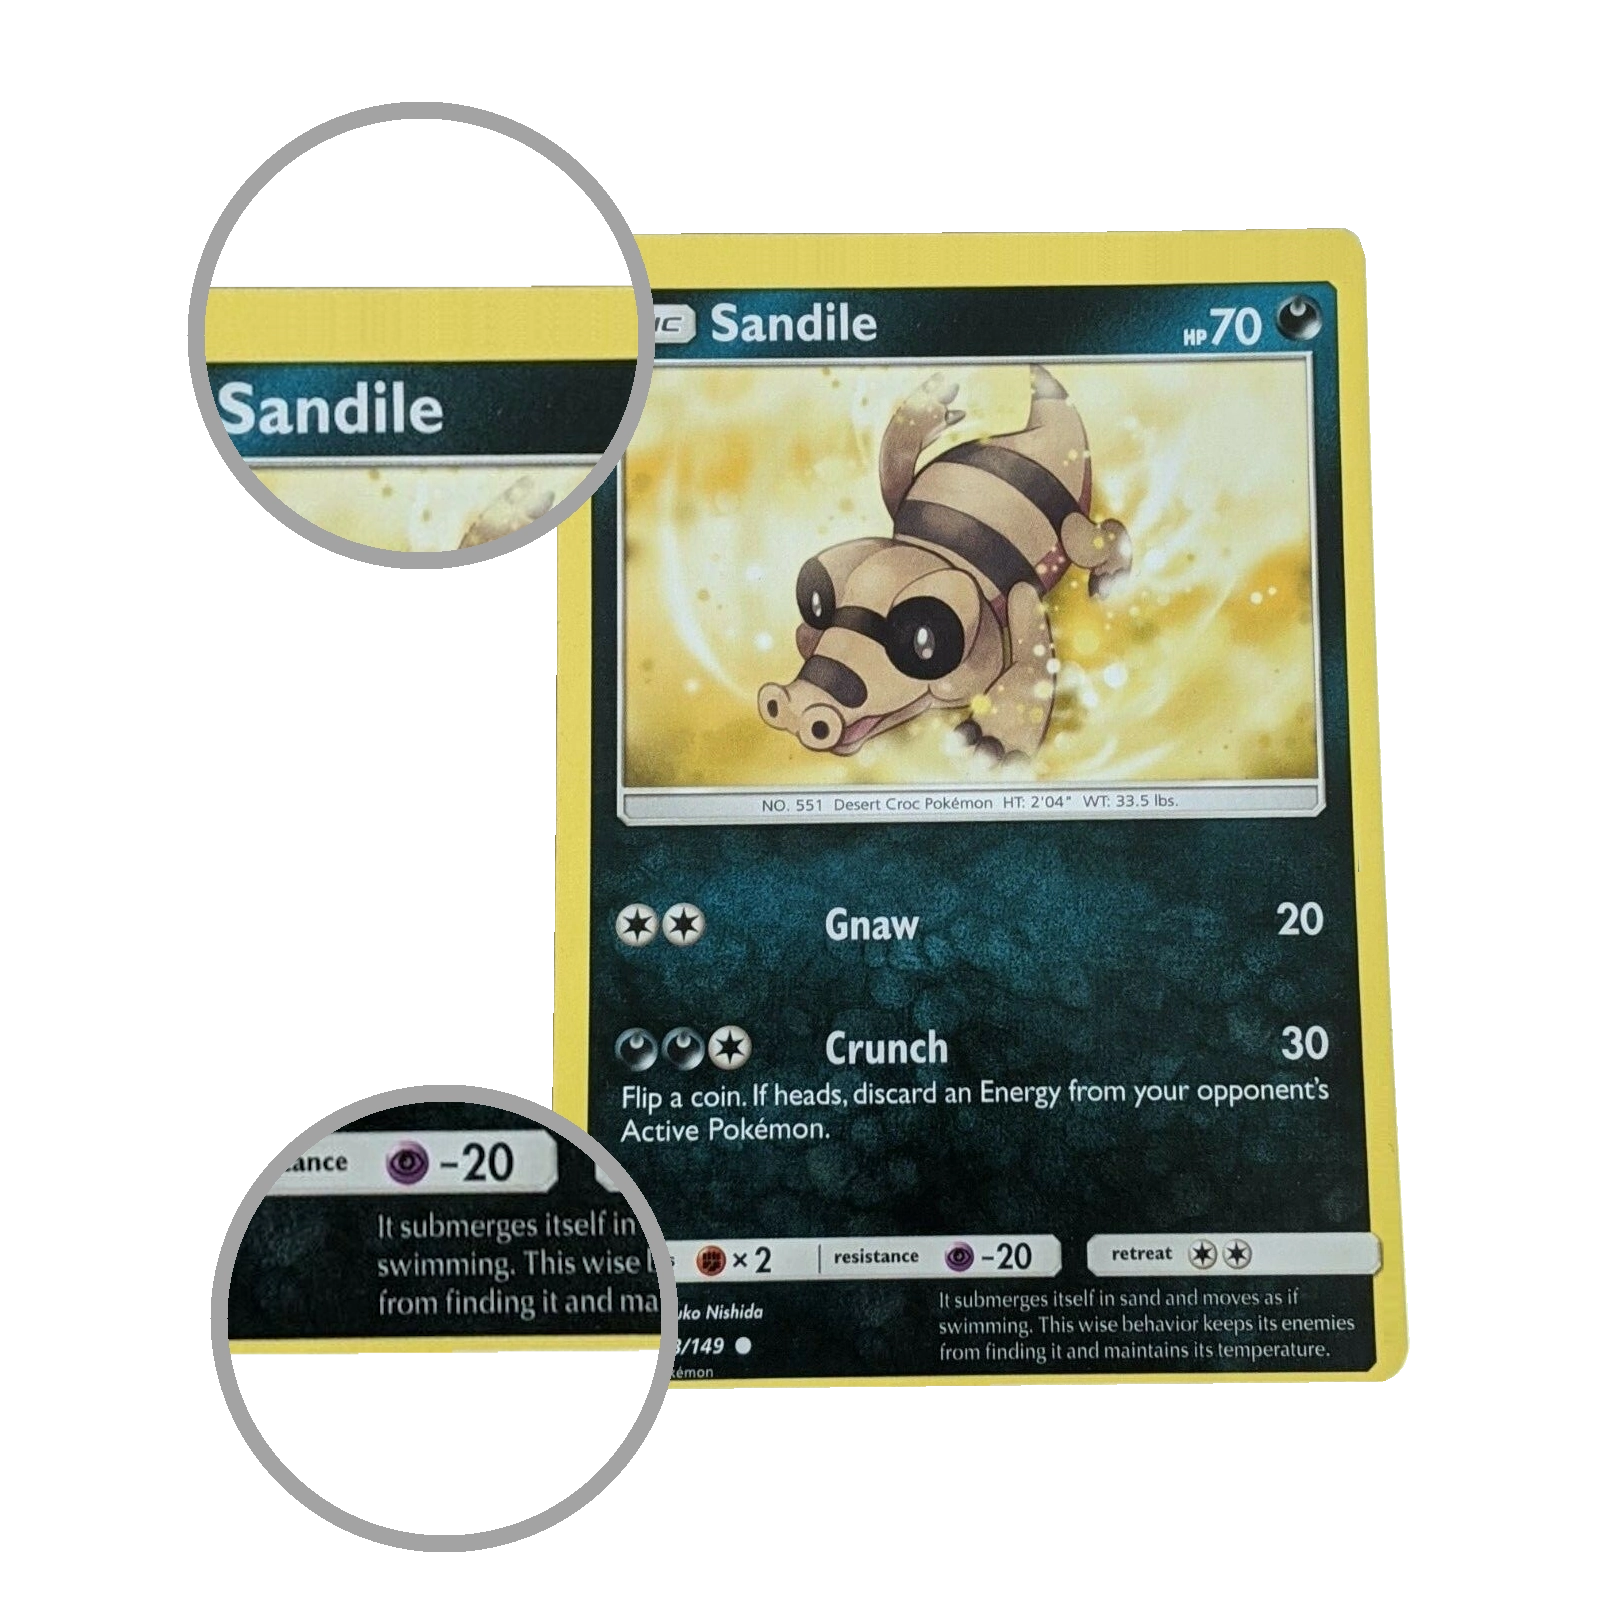
For each axis, it is mandatory to provide two values placed opposite each other (for example left and right).
The software then calculates the translation from the difference between these two measurements.
A perfectly centered card has identical values on opposite sides.
Centering – Rotation
Centering by rotation measures the tilt of the print relative to the cut. It is an angular shift of the image
Unlike translation, rotation is measured on only one side of the card (left, right, top, or bottom).
To perform the measurement, three values must be entered on the same side:
1. First border measurement (e.g. top of the measured side)
2. Second border measurement (e.g. bottom of the same side)
3. Distance between the two measurement points
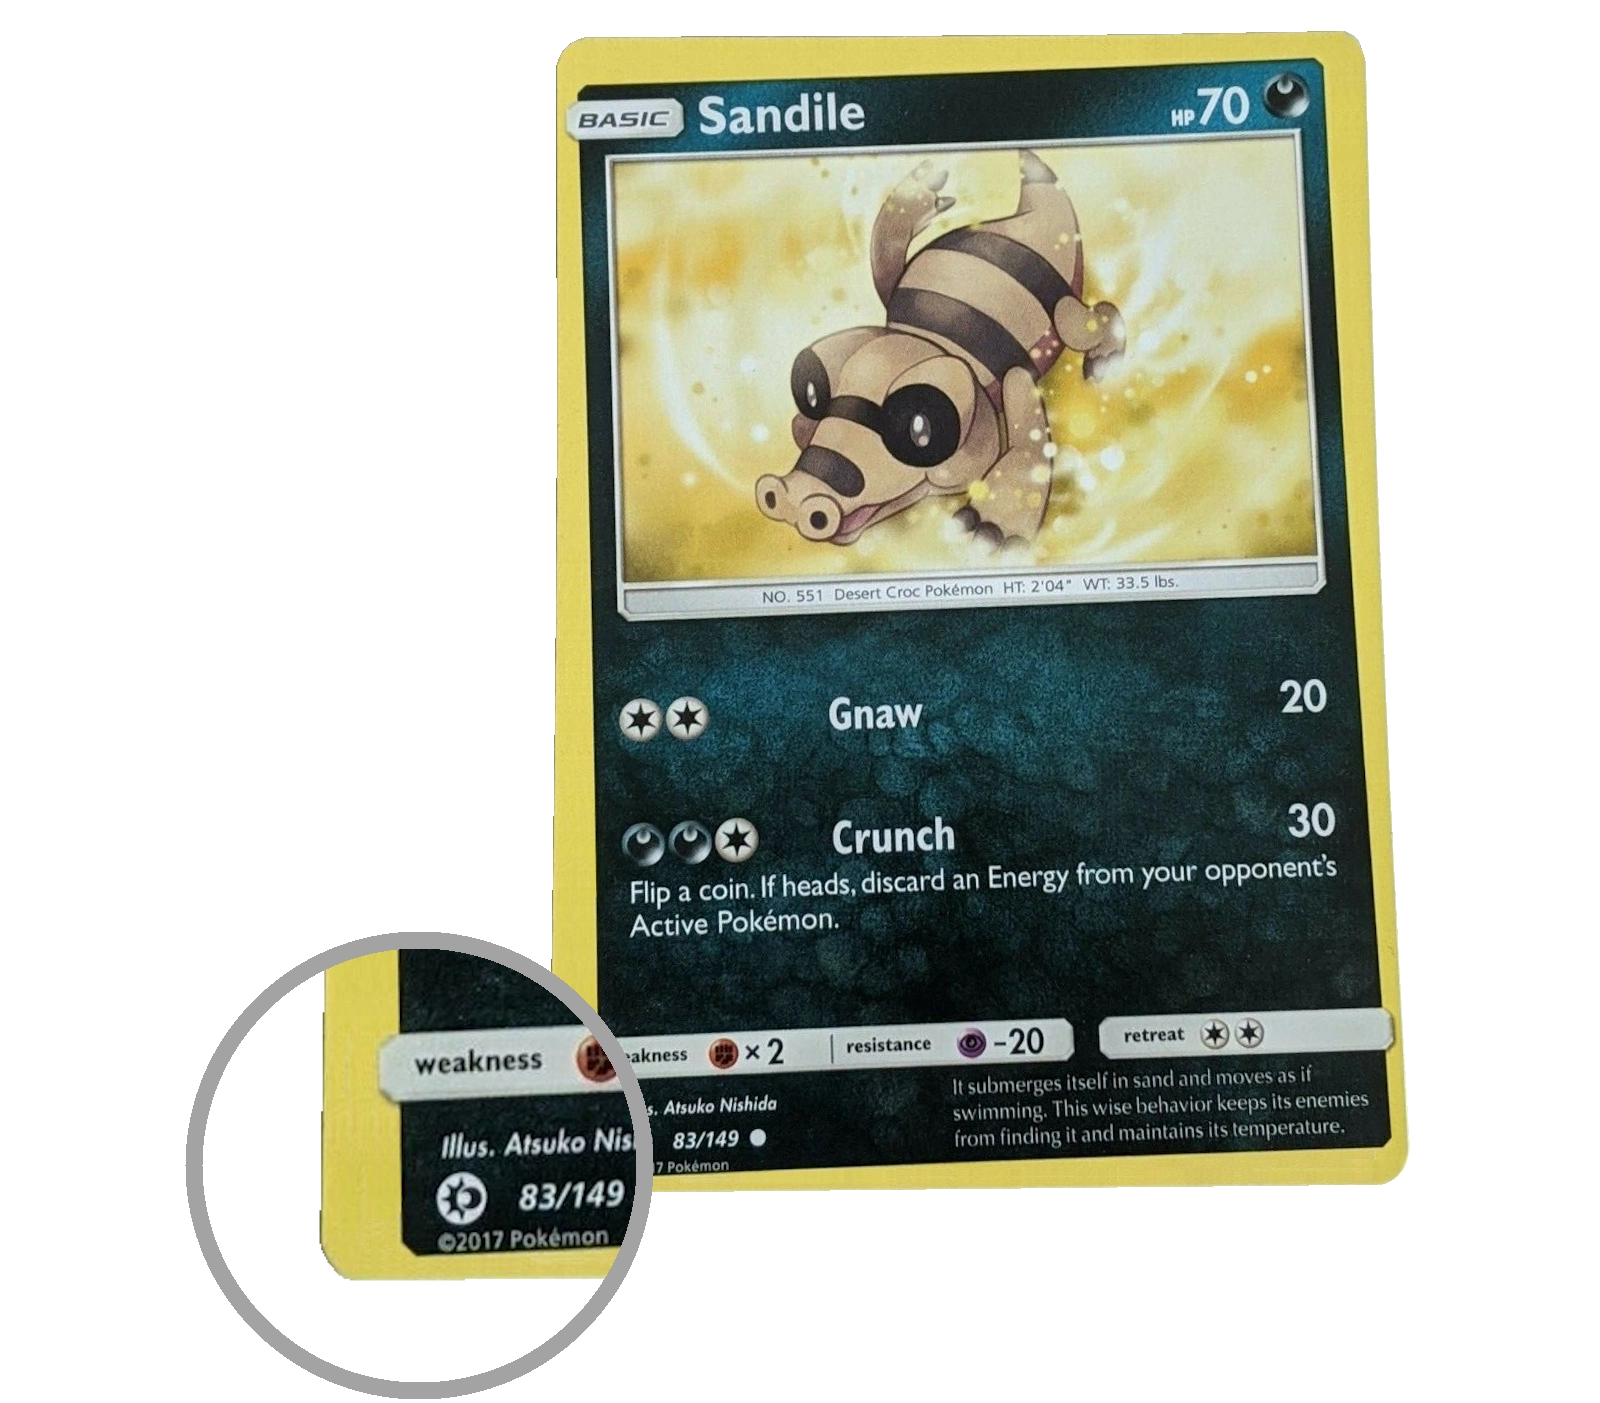
The first two values correspond to local translation measurements on that side.
The third value represents the actual distance between these two points and allows the software to calculate the angle of rotation of the print relative to the cut.


 You have control over the cookies used.